Standard presets
Load a Preset14 in Settings → Rig → Presets: it builds the rig chain, already bound to the right channels (Rig presets). The other dimensions come from the manufacturers' drawings: measure the ones in bold on your rig and enter them on the node cards (Measuring your rig).
Tripod + FR7
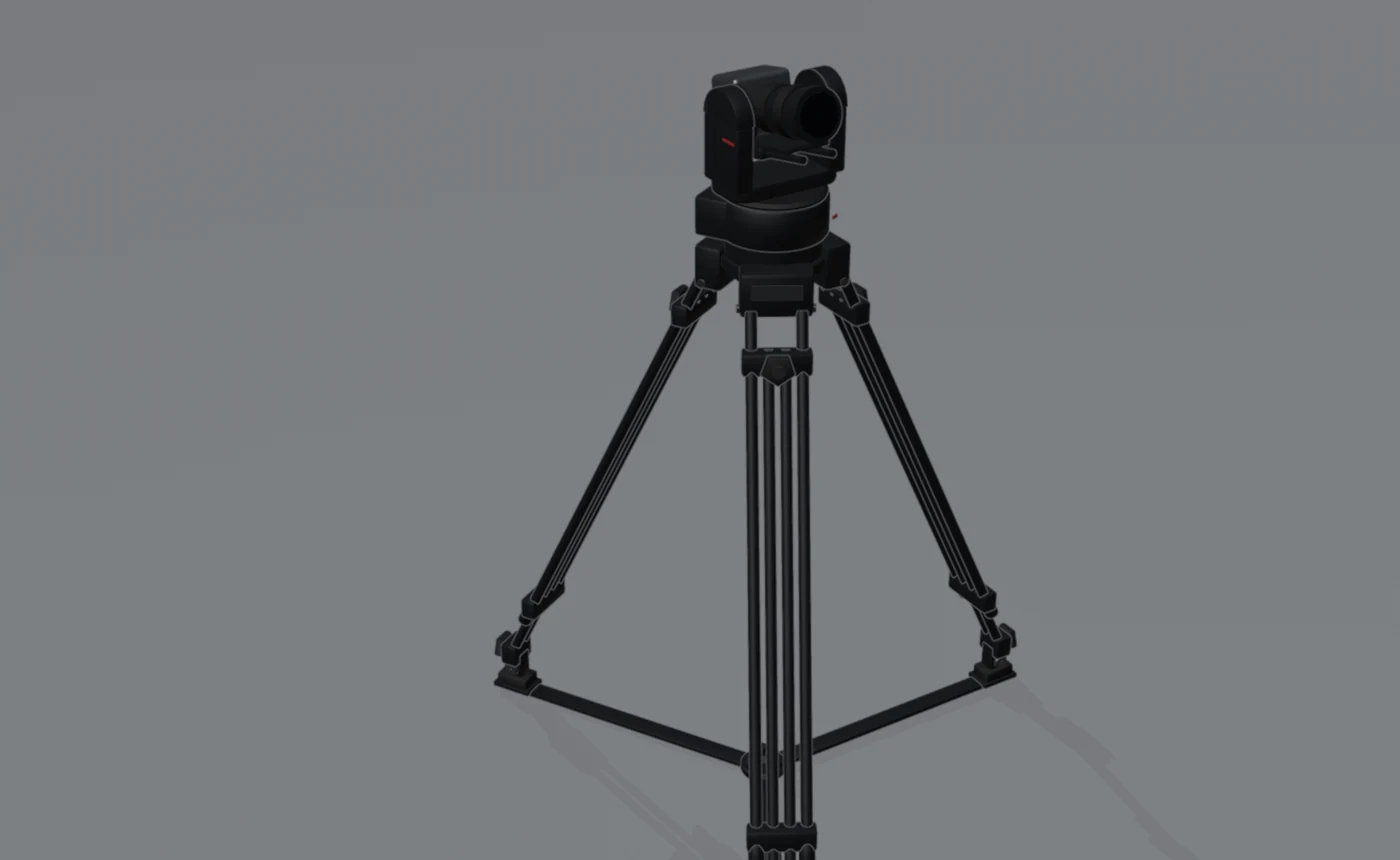
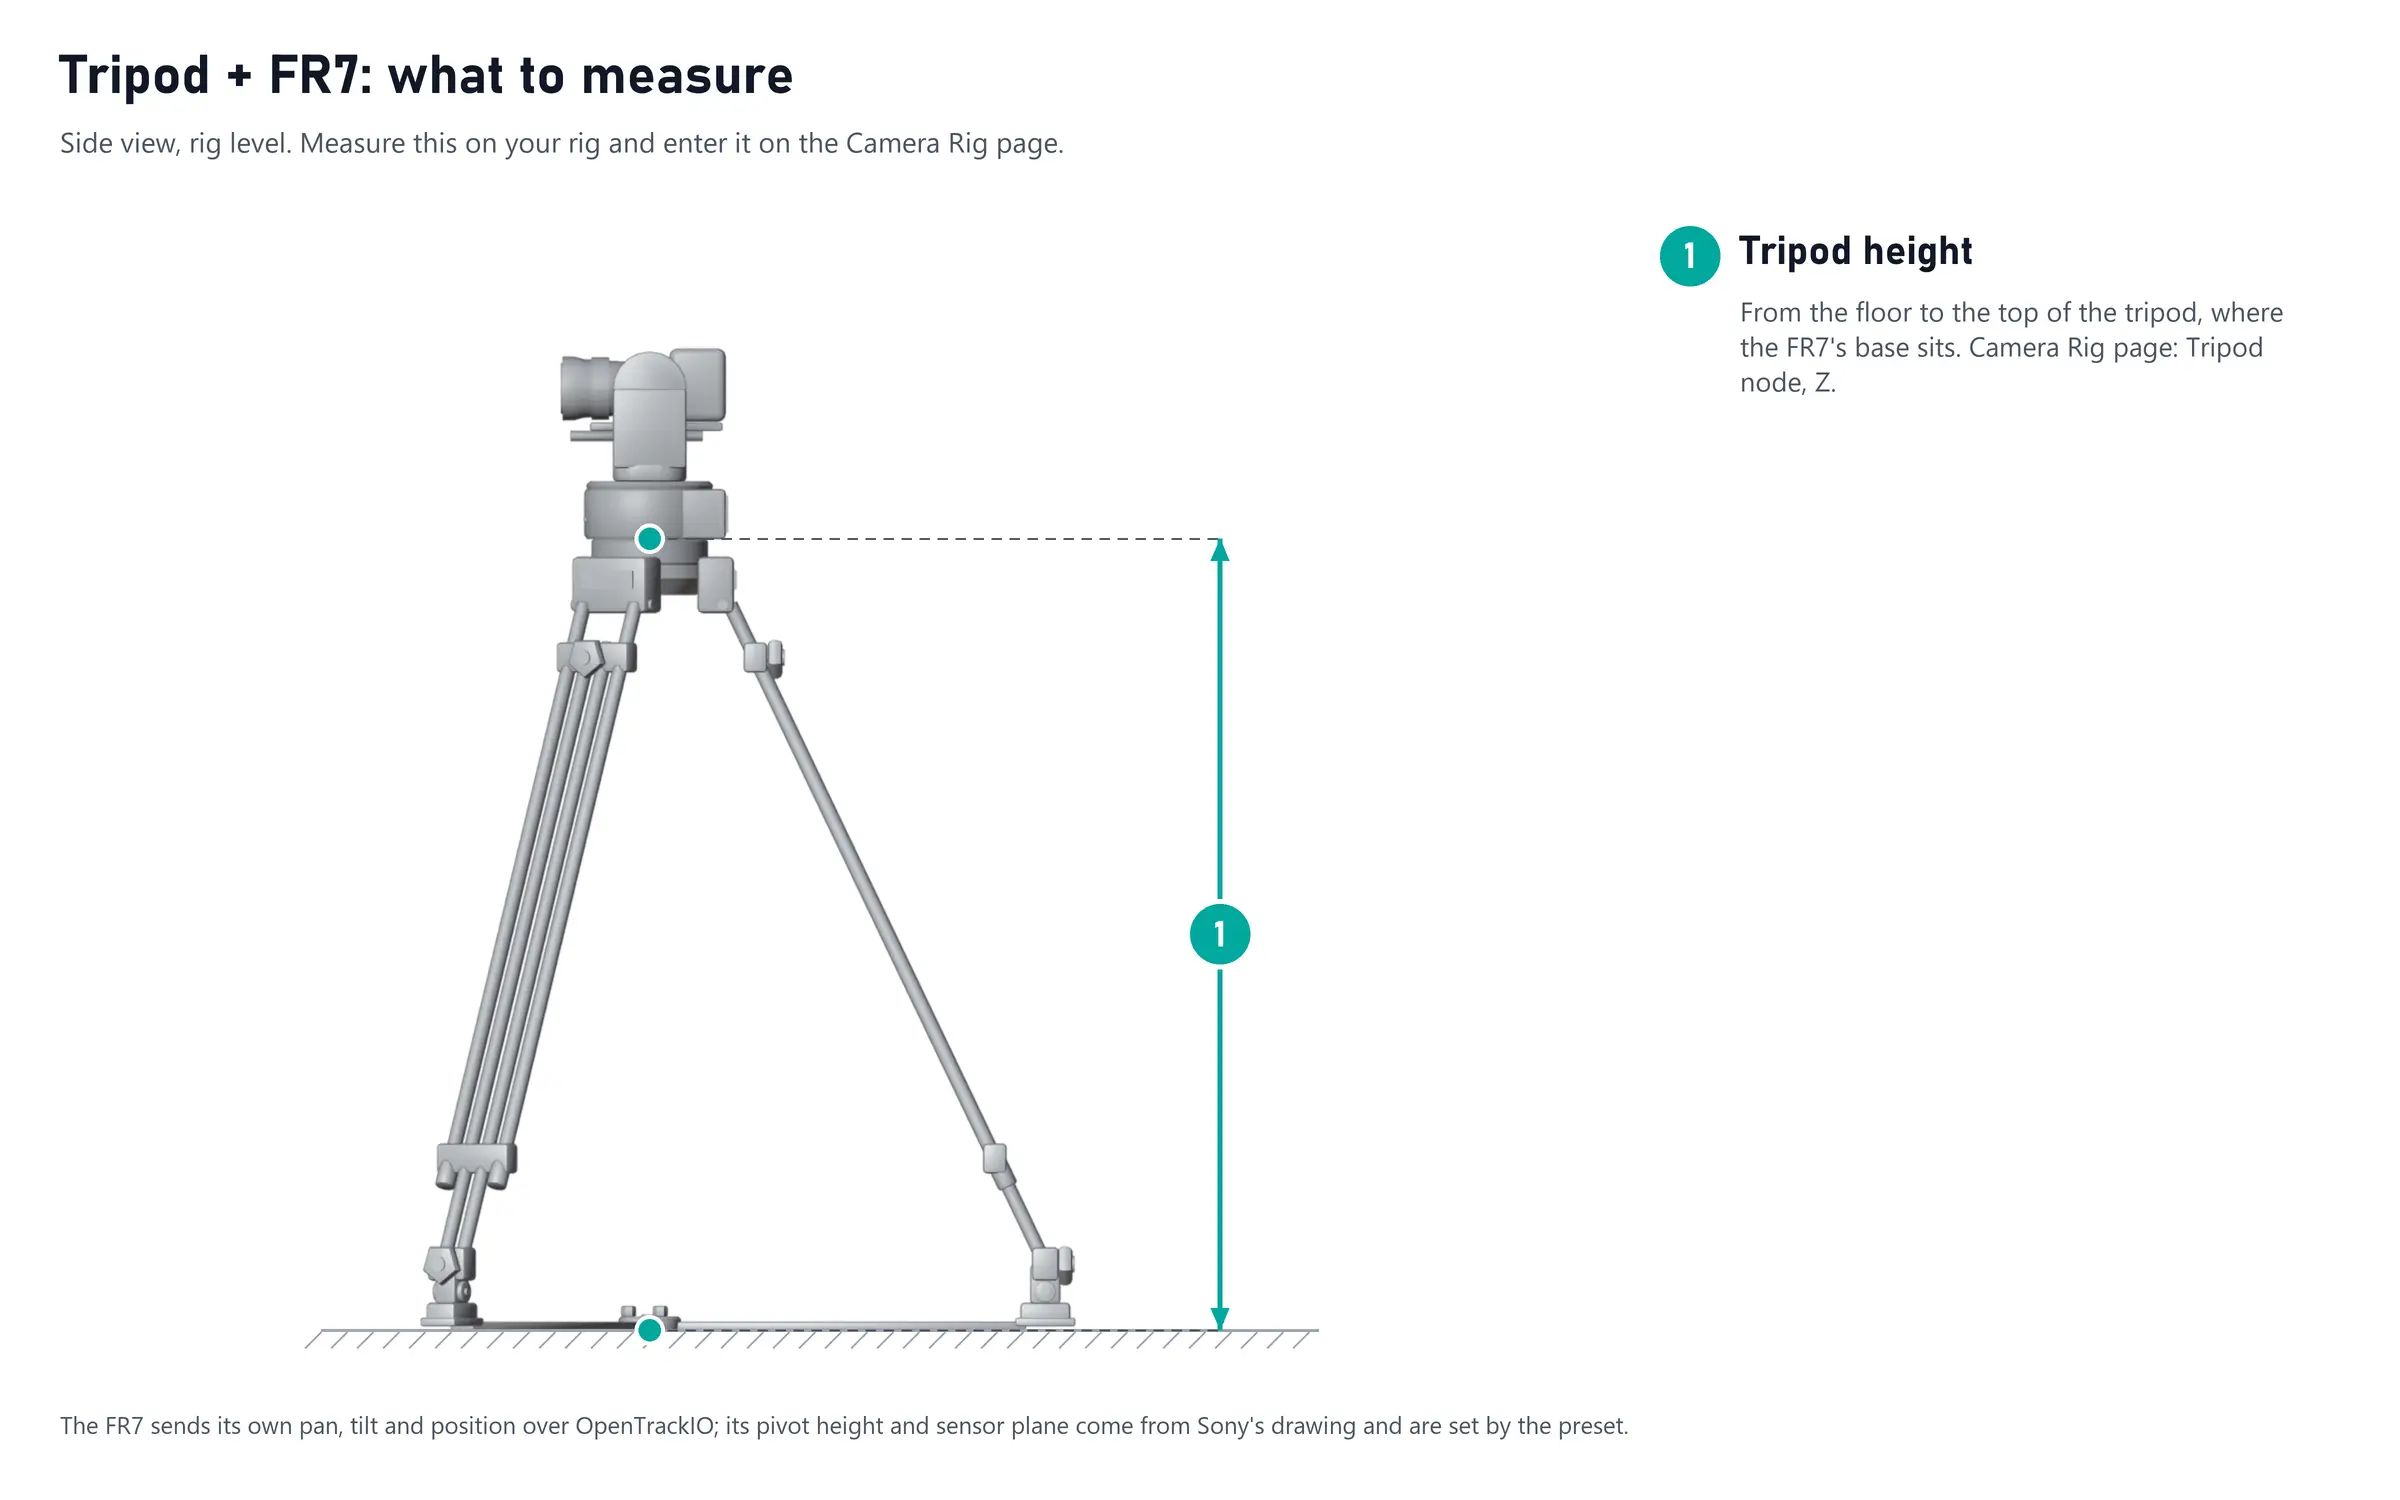
A Sony FR7 on a tripod. Offered on every firmware.
Input: the FR7's OpenTrackIO stream, in its upright installation mode, with its own position offsets at zero: the chain places it.
| Node | What it is | Set |
|---|---|---|
| Tripod | Floor to the top of the tripod, where the FR7's base sits | Z = your tripod height (1) |
| PTZ pivot | Base to the FR7's tilt axis, 0.228 m up | From Sony's drawing |
| PTZ | The FR7's own pan, tilt and position | OpenTrackIO11 pose |
| Sensor offset | Tilt axis to the Sensor plane16, 0.048 m back | From Sony's drawing |
Lens: the FR7 sends its calibrated lens in the same stream: Lens Source mode with OpenTrackIO11 on the Lens page, and an OpenTrackIO11 output.
Slider + FR7
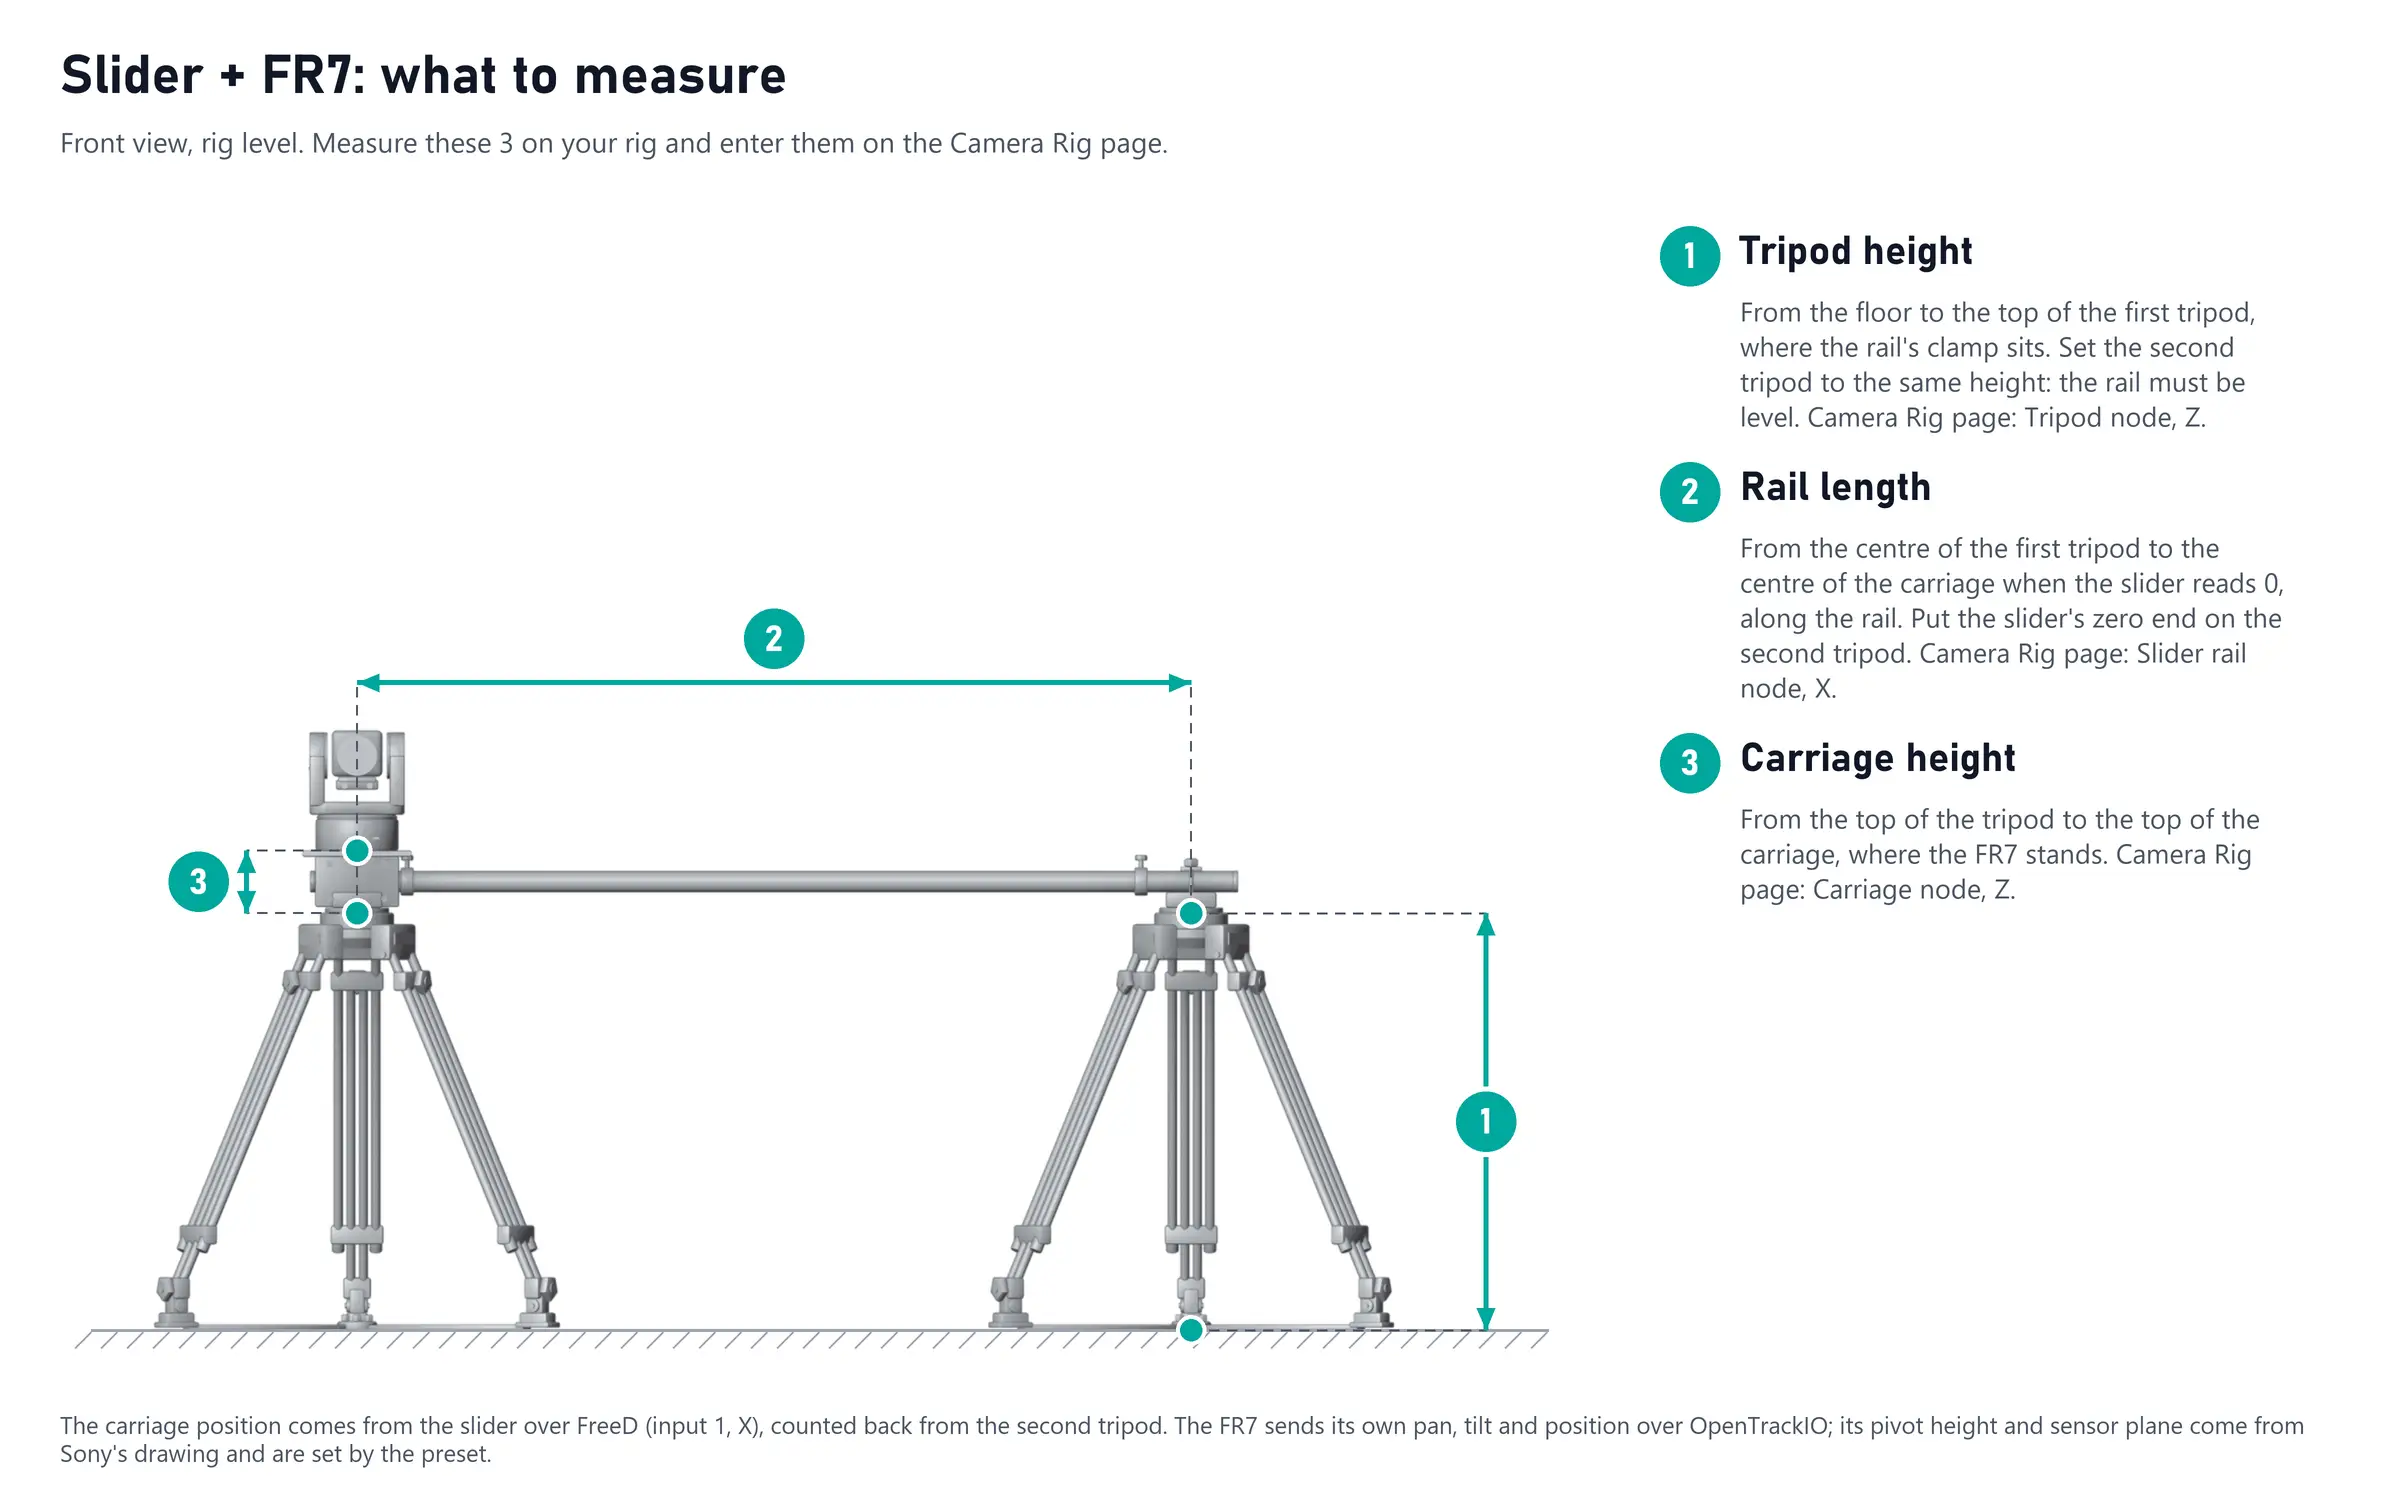
A Sony FR7 on the carriage of a slider, its rail clamped on two tripods of the same height. The FR7 sends its pan and tilt, the slider the position of its carriage: RigFX combines them into one tracked camera. Offered on every firmware.
Inputs: the FR7's OpenTrackIO stream, set up as for Tripod + FR7, and the slider's carriage position as the X of FreeD input 1, the distance along the rail from the slider's zero.
| Node | What it is | Set |
|---|---|---|
| Tripod | Floor to the top of the first tripod, where the rail is clamped | Z = your tripod height (1) |
| Slider rail | First tripod to the carriage at the slider's zero, at the second tripod | X = your rail length (2) |
| Carriage | The carriage along the rail, and the top of its plate above the tripod | X = FreeD 1 · X (source/freed/0/pose, negated), Z = your carriage height (3) |
| PTZ pivot | Base to the FR7's tilt axis, 0.228 m up | From Sony's drawing |
| PTZ | The FR7's own pan, tilt and position | OpenTrackIO11 pose |
| Sensor offset | Tilt axis to the Sensor plane16, 0.048 m back | From Sony's drawing |
Which end is which: the carriage's position counts back from the second tripod, so put the slider's zero end on that one. As the slider's position grows, the carriage moves towards the first tripod.
Direction: the rail runs along the rig's X. To lay it another way, either turn the whole rig in the studio with the studio offset, or set the Slider rail's X and Y to where the second tripod stands from the first (negative values work) and its Pan to the rail's direction, counter-clockwise from X seen from above: 90° along Y, 180° along −X, −90° along −Y. The carriage moves along the rail node's X, so it needs that Pan to stay on the rail; the FR7 turns with the rail, as it does on the real slider.
In the 3D view, the Slider rail node draws the rail from the first tripod to its end, whichever way it runs, and a second tripod there, the same as the first. The carriage sits on the rail, turned along it.
Lens: as for Tripod + FR7, Lens Source mode with OpenTrackIO11 on the Lens page.