Cartoni e-Jibo + e-Sensor head
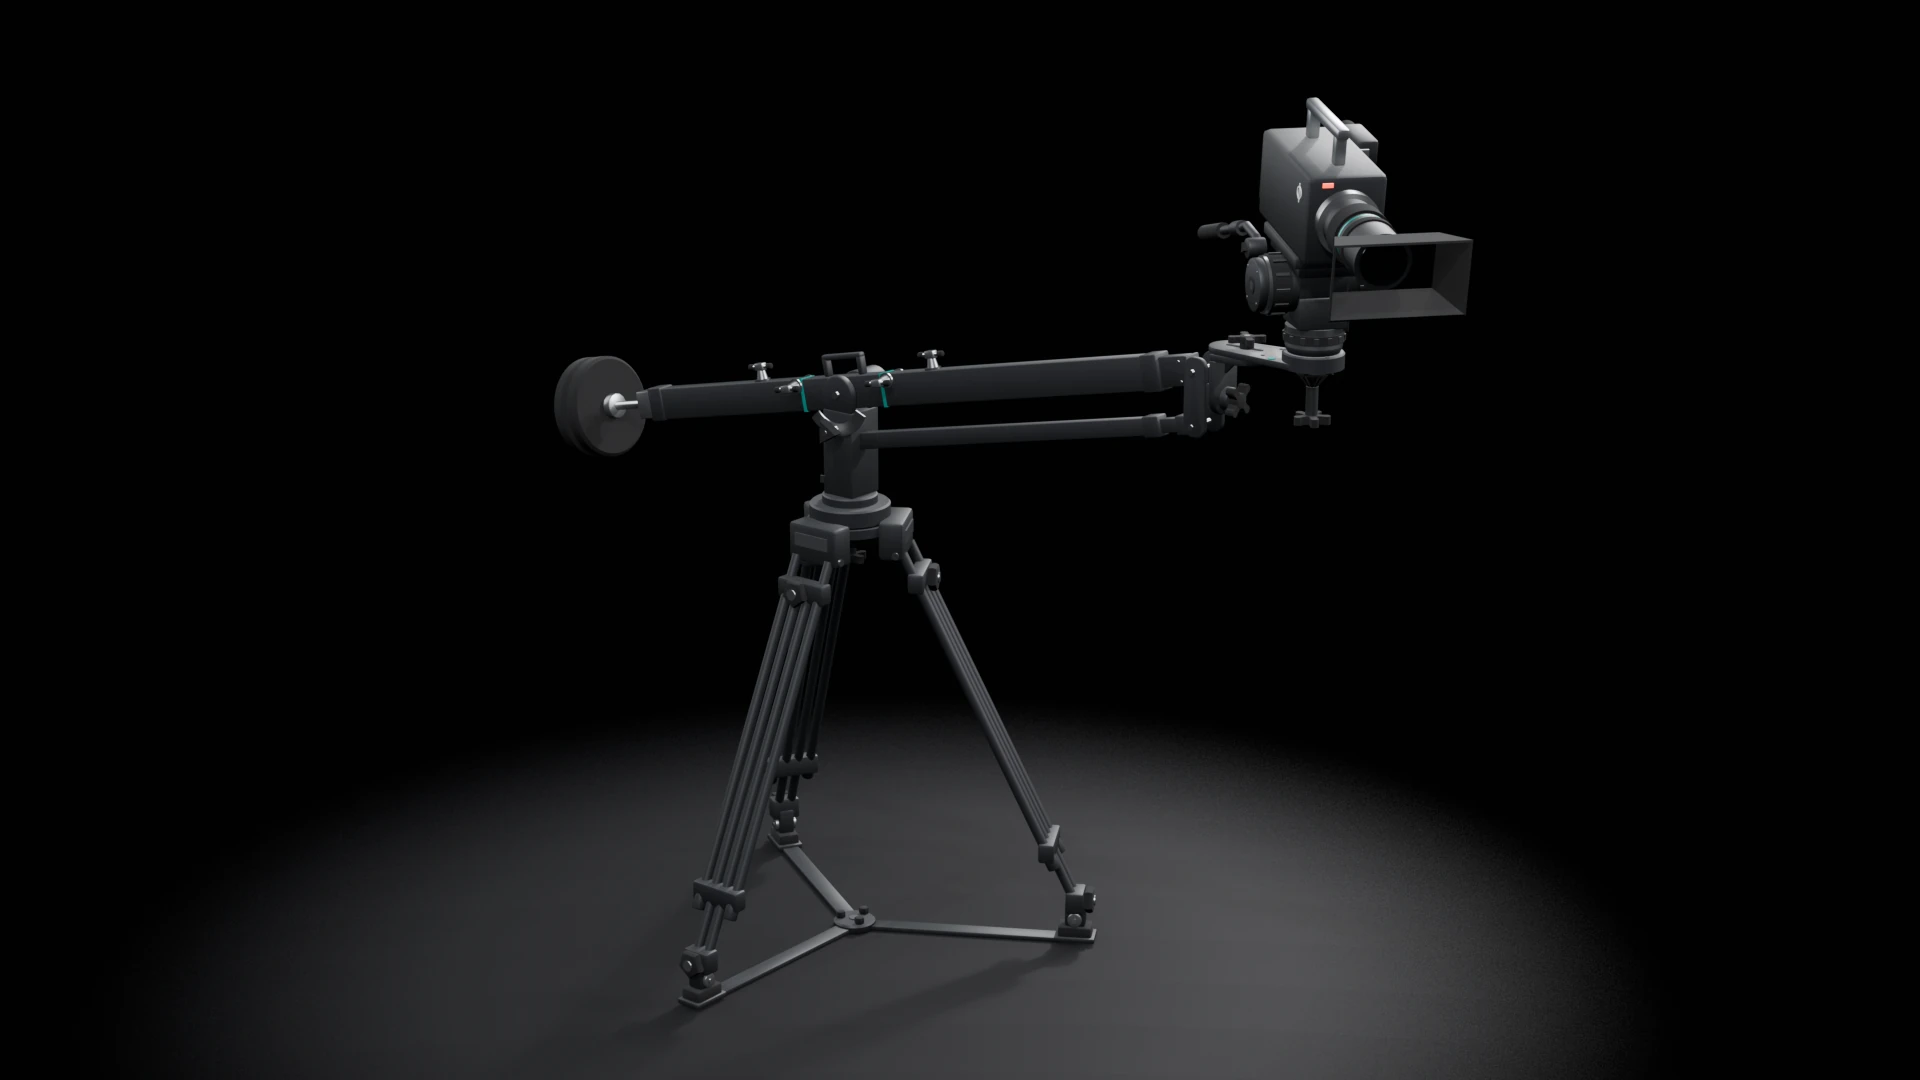
A camera on a Cartoni e-Sensor encoded head, on the arm tip of a Cartoni e-Jibo on a tripod. RigFX reads the jib's and the head's pan and tilt from their Cartoni encoders and sends the camera's pose, with its lens, to the render engine. The e-Jibo + e-Sensor rig Preset14 builds the chain: you measure three dimensions.
You need
- RigFX Cartoni, with the Cartoni firmware
- a Cartoni e-Jibo and an e-Sensor head, with their encoder cables
- a camera
- a Genlock7 reference
- for lens data: a lens with encoders or a servo
1. Assembly
Install the e-Jibo.
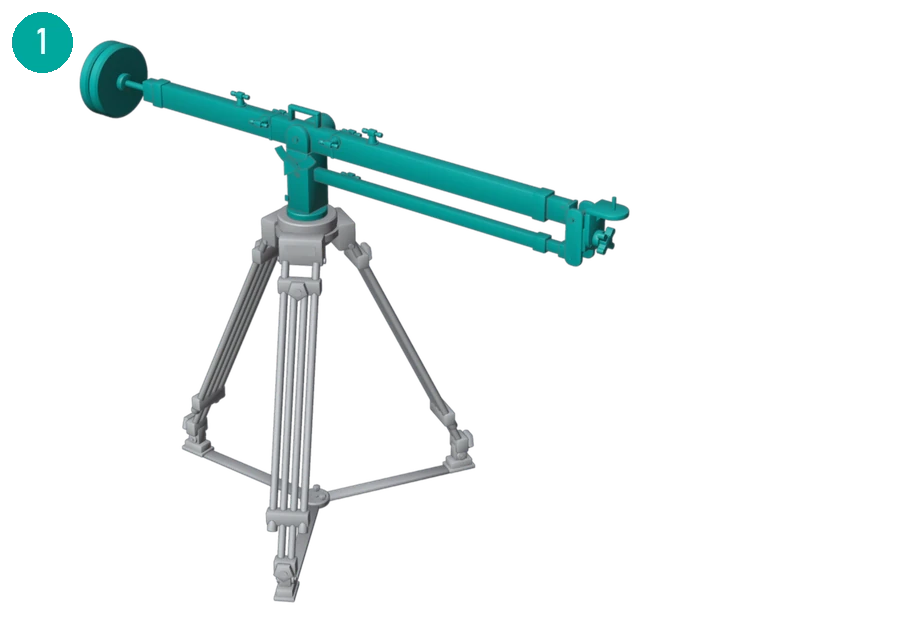

Position the e-Sensor head on the front section of the e-Jibo.

Hand-tighten the knob on the mounting plate.


Check the bubble level on the mounting plate.

Check the bubble level on the e-Sensor head.

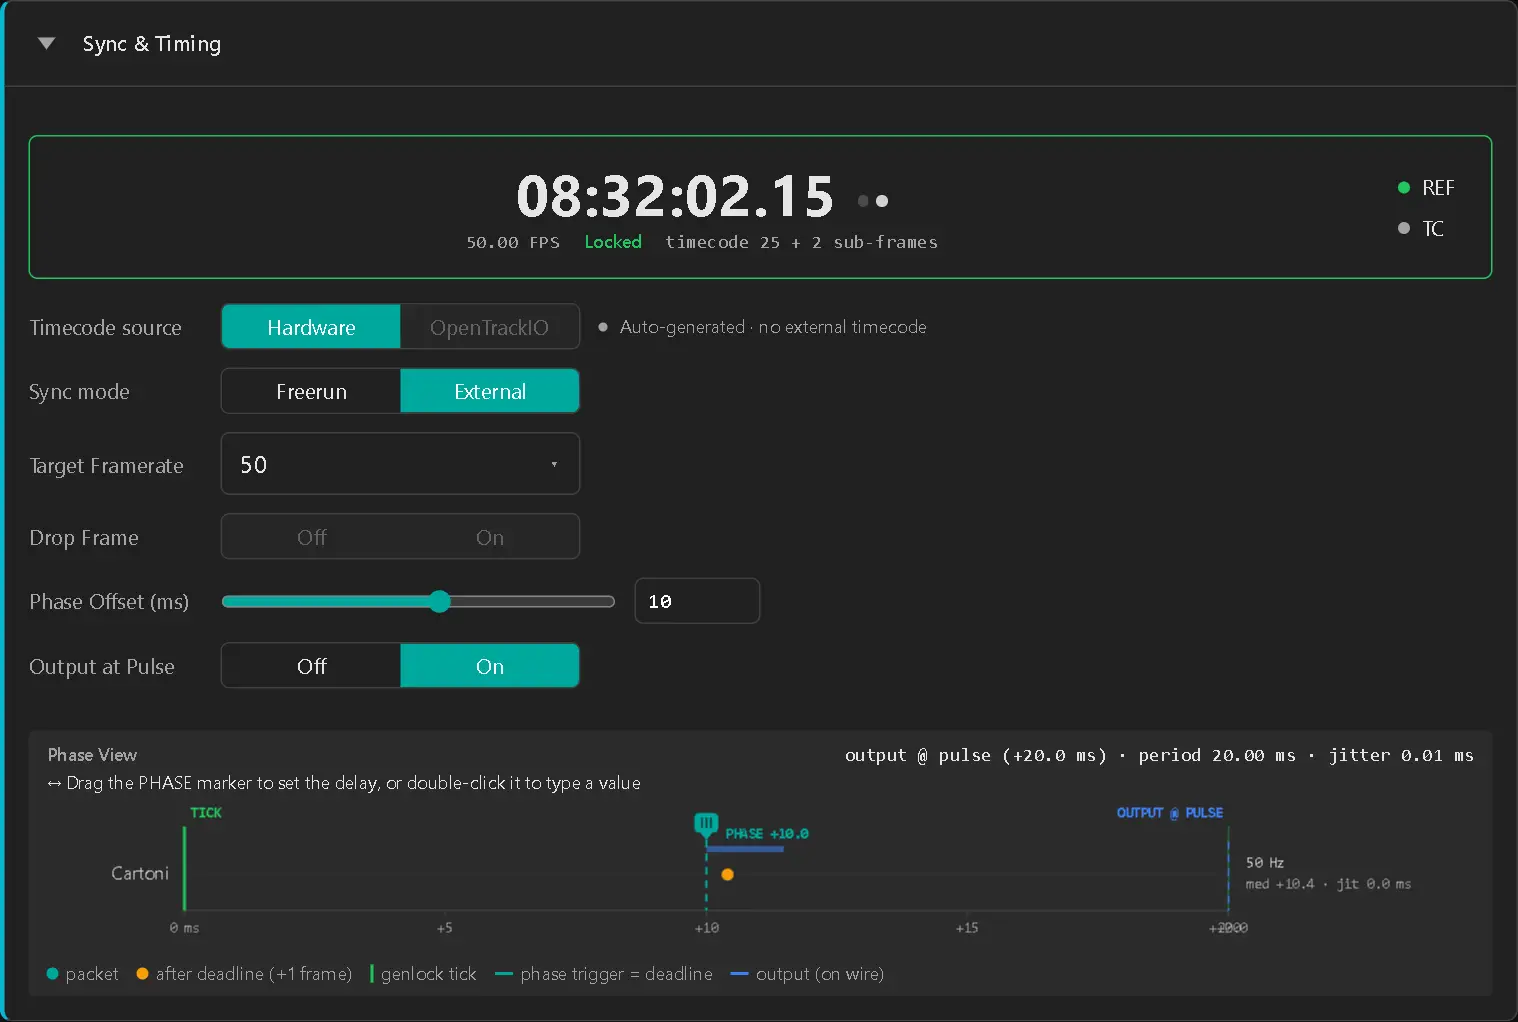
Install the camera, then align the head vertically.
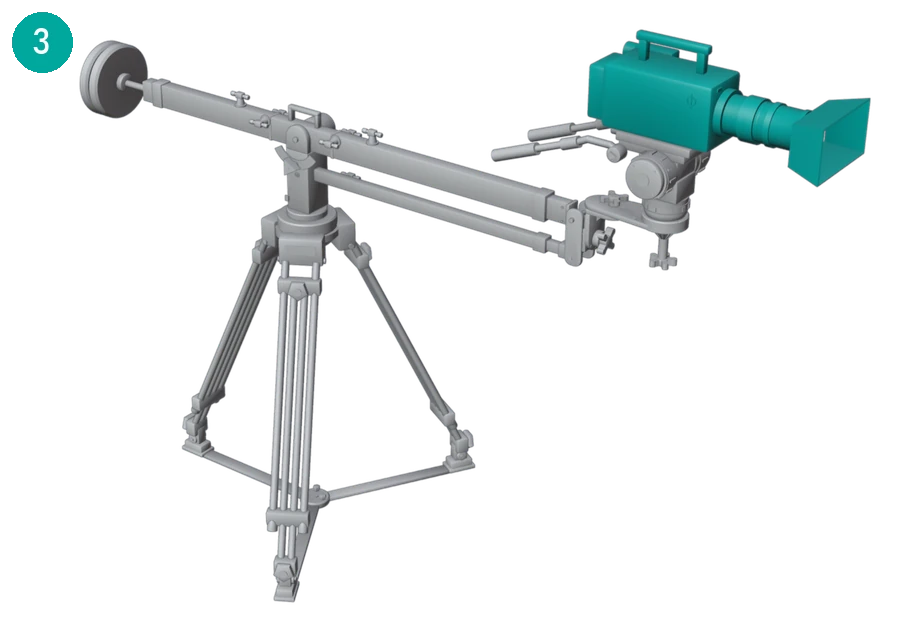

Align the arm vertically.

Align the mounting plate / camera with the e-Jibo arm.

Success
Assembled.

2. What to measure
The e-Jibo + e-Sensor Preset14 takes every other dimension from Cartoni's drawing: the jib axle above the bowl, the head plate on the arm tip and the e-Sensor's tilt axis above its base. Measure only these on your rig (figures):
1. Tripod height, from the floor to the top of the tripod bowl, where the jib base sits.

2. Arm length, from the jib pivot axle to the arm-tip pin, centre to centre. The arm telescopes: measure it at the length you use.

3. Sensor offset, from the e-Sensor's tilt axis (the centre of the tilt drum, on the side of the head) to the camera's Sensor plane16: forward (Y) and up (Z). Camera bodies mark the Sensor plane16 with a circle crossed by a line.
3. Cabling
^ into Ref, the network to the render engine](../../../../assets/diagrams/wiring_jib_esensor.svg)
- Plug the e-Jibo's pan and tilt encoder cable into the e-Jibo.


- Plug its other end into the Cartoni encoder inputs 1 (pan) and 2 (tilt) of RigFX Cartoni.

- Plug the e-Sensor's pan and tilt encoder cable into the head.


- Plug its other end into the Cartoni encoder inputs 3 (pan) and 4 (tilt).

- Connect RigFX to the studio network (Network), and the genlock to its Ref input (Genlock / Sync). A lens with encoders or a servo plugs into the lens panel (Lens FIZ source).
4. Sync
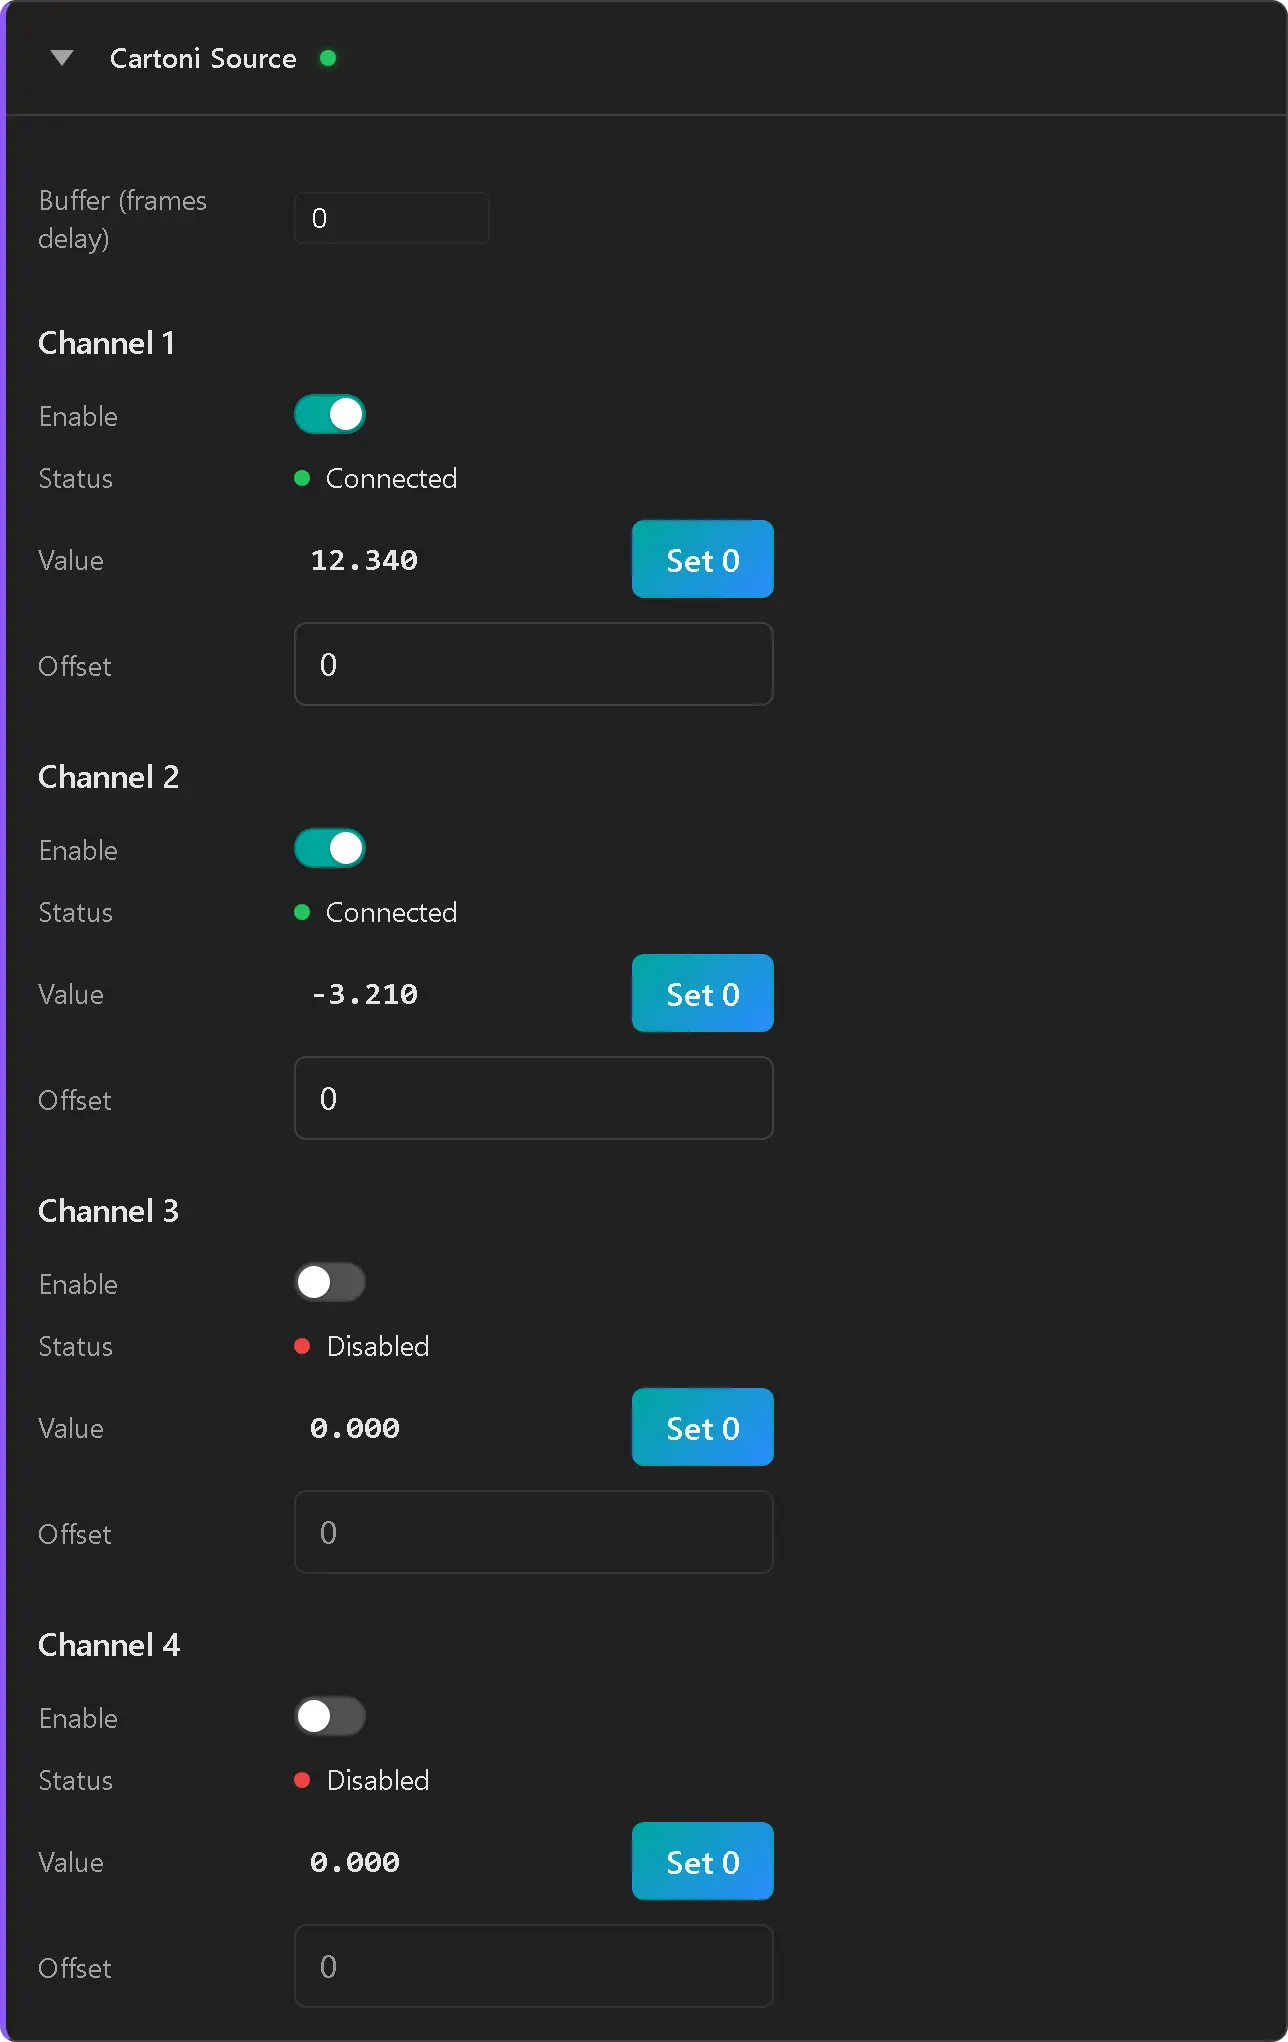
In the web app, Settings → Sync:
- Sync mode: External.
- Target framerate: the studio's frame rate.
- The status under the timecode reads Locked, and the measured FPS matches the target.
5. Cartoni source: zero the jib and the head
On the rig:
- Turn the arm to the direction you want as pan zero, one easy to find again, such as parallel to the studio's main wall.
- Level the arm, perfectly horizontal, and lock it.
- Point the camera straight along the arm and level it on the head (bubble level on the e-Sensor), then lock the head.
In Settings → Source → Cartoni:
- Enable channels 1 to 4.
- Click Set 0 on each channel: it reads zero at this position.
Success
Unlock the arm and the head: they are calibrated.
6. Rig: load the preset
In Settings → Rig, click Presets and load e-Jibo + e-Sensor (Rig presets). It builds the whole chain, already bound to the four Cartoni channels (the nodes and what each one sets).
Enter your three measurements on the Tripod card (Z), the Arm card (Y) and the Sensor Offset card (Y and Z):
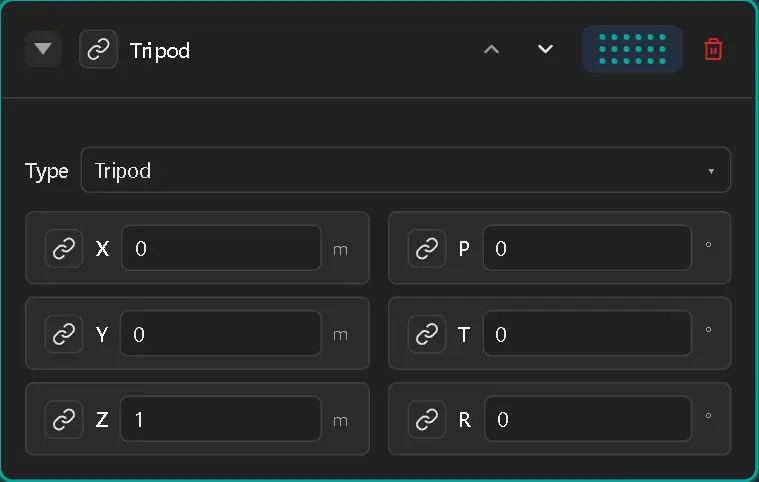
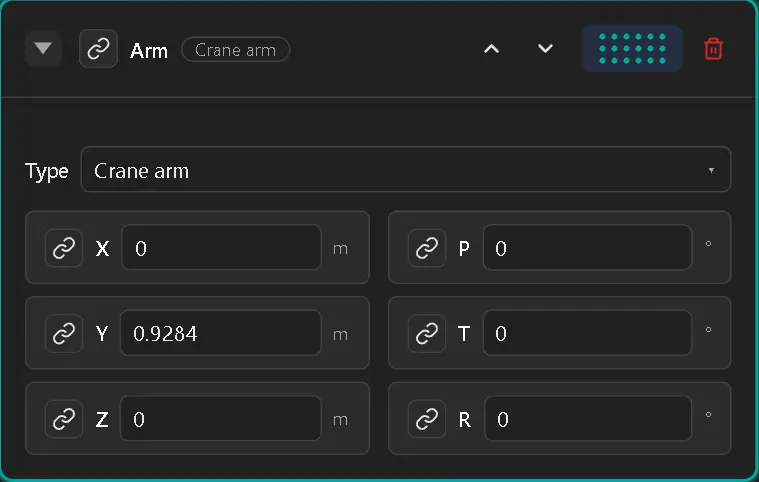
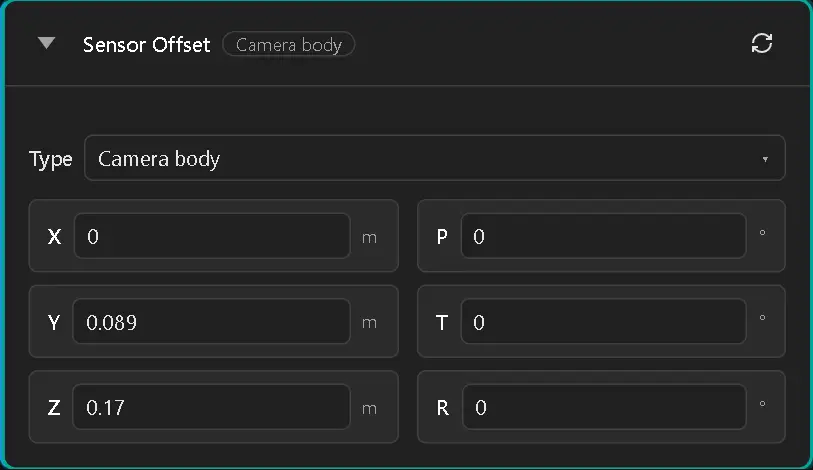
The rest of the chain is set by the Preset14. The Studio offset17 is not part of the preset: it places the rig in your studio.
The web app's 3D view now moves with the rig, as here:
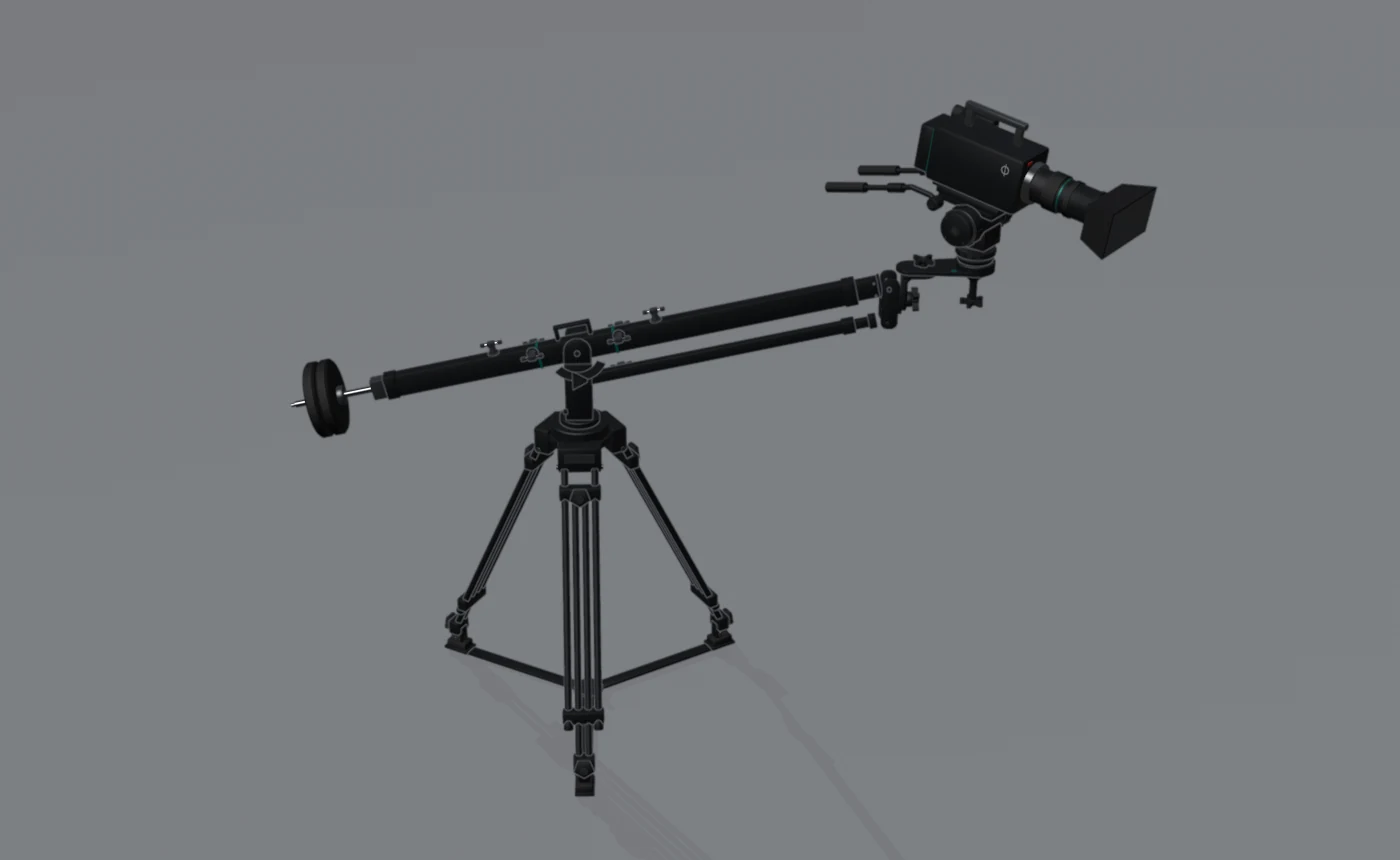
Check the directions
Swing the arm left and raise it, then pan and tilt the head: the 3D view must follow the same way. If an axis turns the wrong way, tick Negate on that field of its node card.
7. Lens
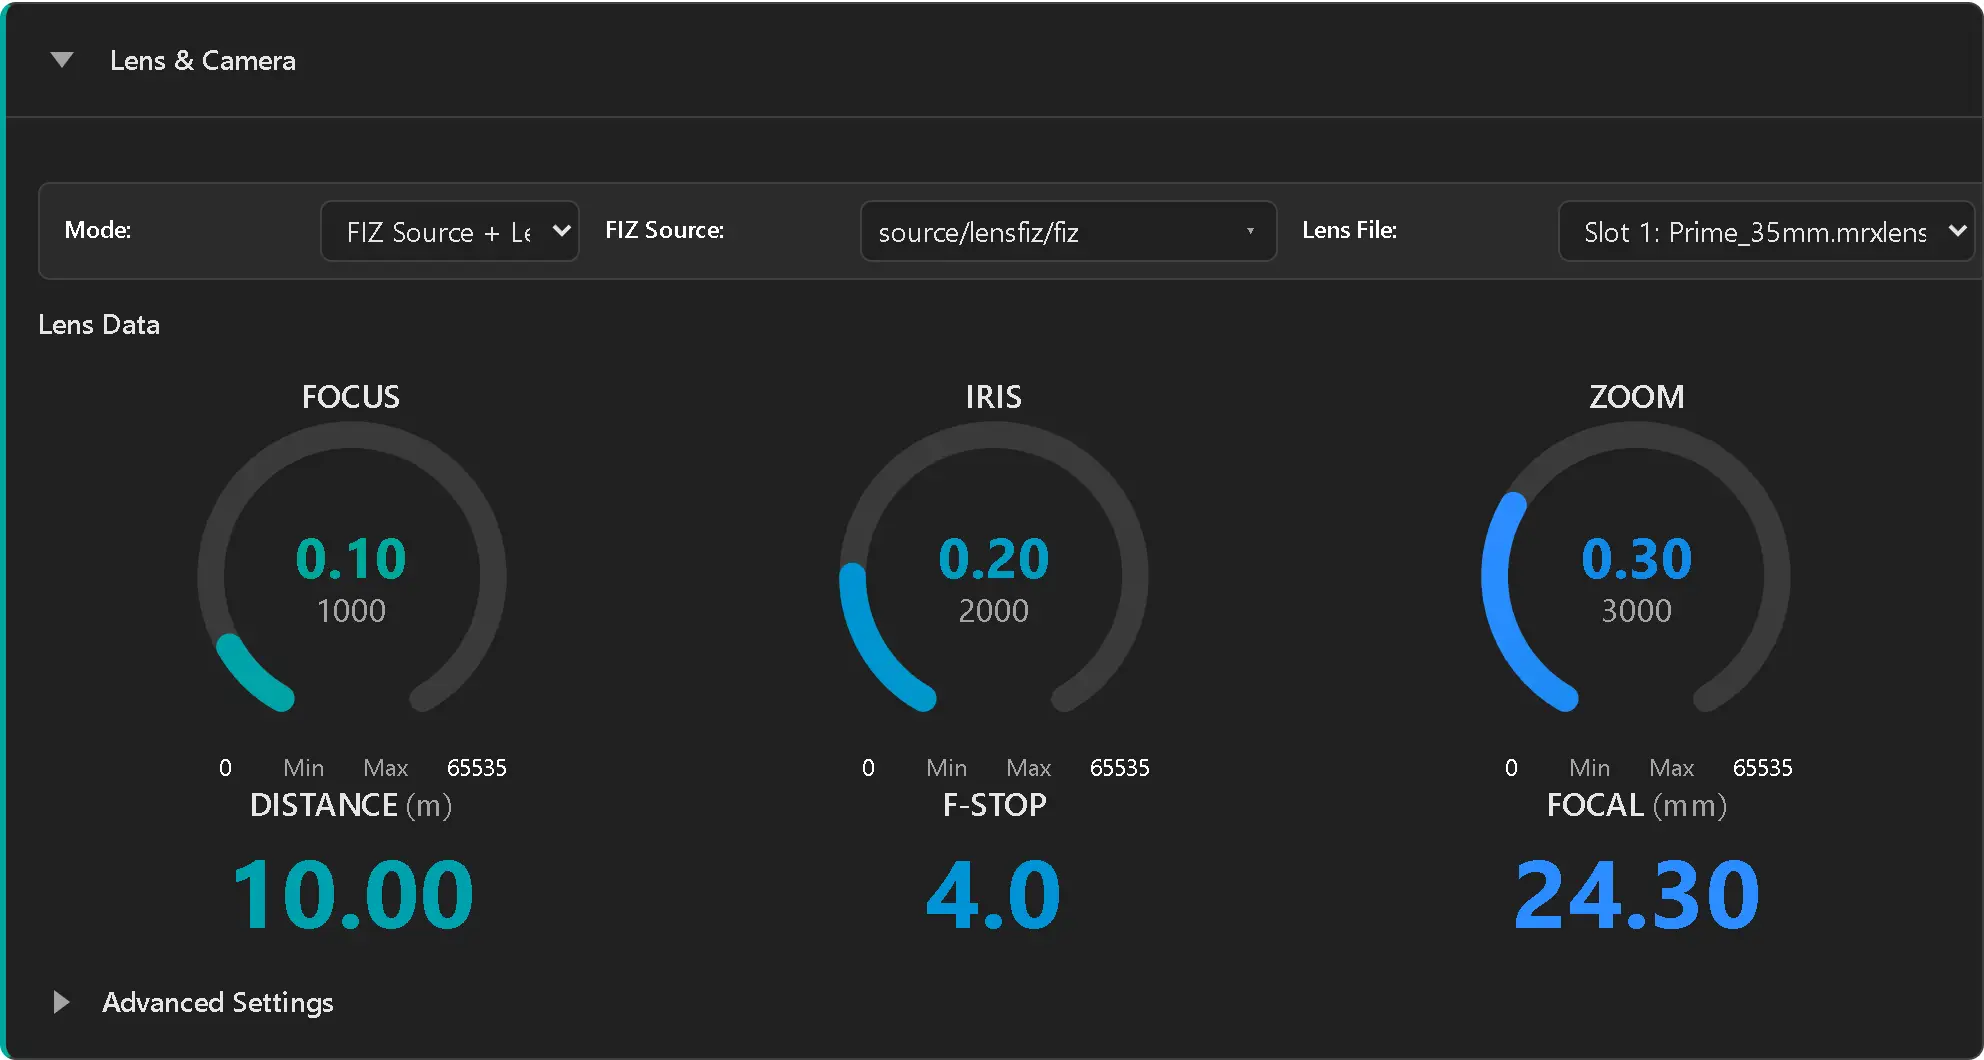
In Settings → Lens, mode FIZ Source + Lens File (Lens):
- FIZ source: Lens FIZ (
source/lensfiz/fiz), the lens plugged into the lens panel. - Lens file: none for a FreeD6 output, where the render engine applies its own lens calibration; a
.mrxlensfile for an OpenTrackIO11 output, where RigFX resolves the lens (Lens pipeline).
8. Output
In Settings → Output, on one destination:
- Protocol: FreeD6 or OpenTrackIO11, the one your render engine reads.
- IP and Port: the render engine's.
- Enable it.
Perfect tracking with CalibFX Lineup
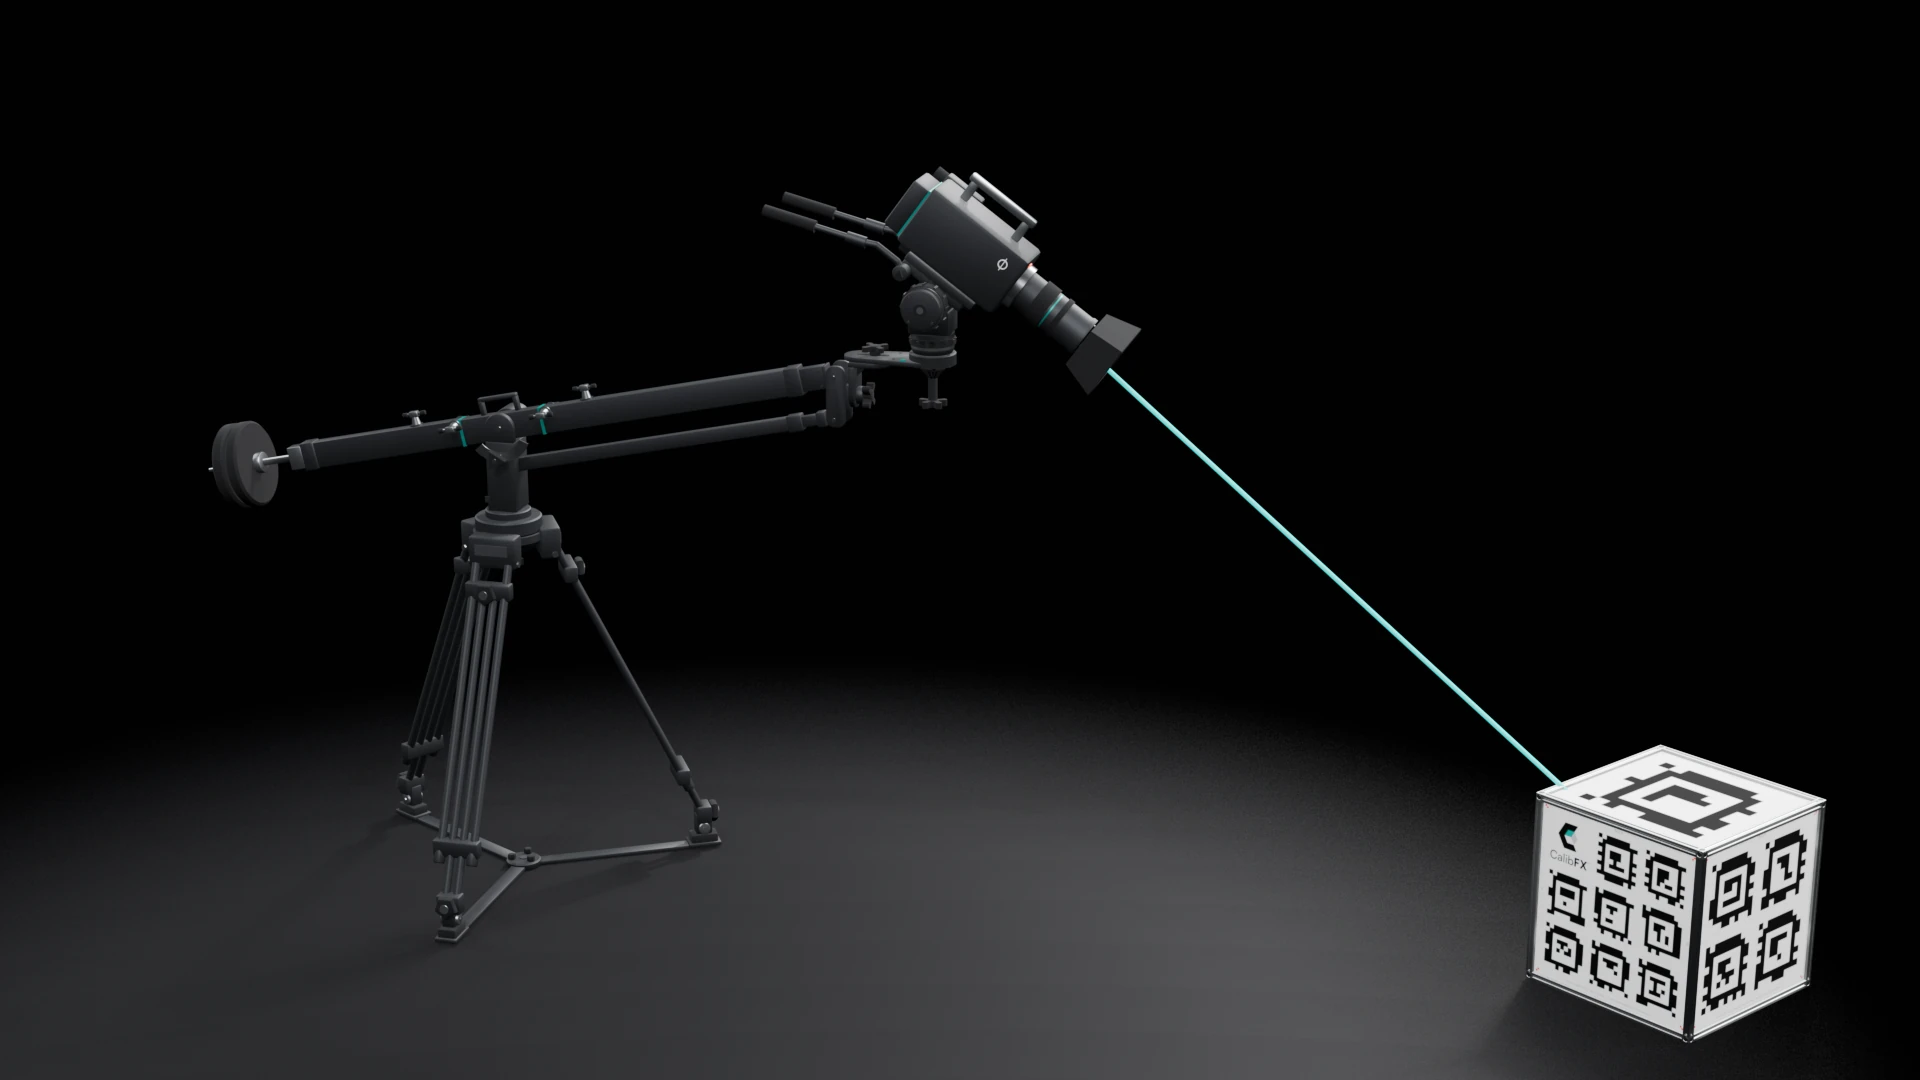
Point the camera at the CalibFX cube and let CalibFX Lineup finish the job: from what the camera sees, it solves the Studio offset17, the sensor offset and every node of the chain in between (tripod height, arm length, head offsets), so the virtual camera sits exactly on the real one, without a tape measure.
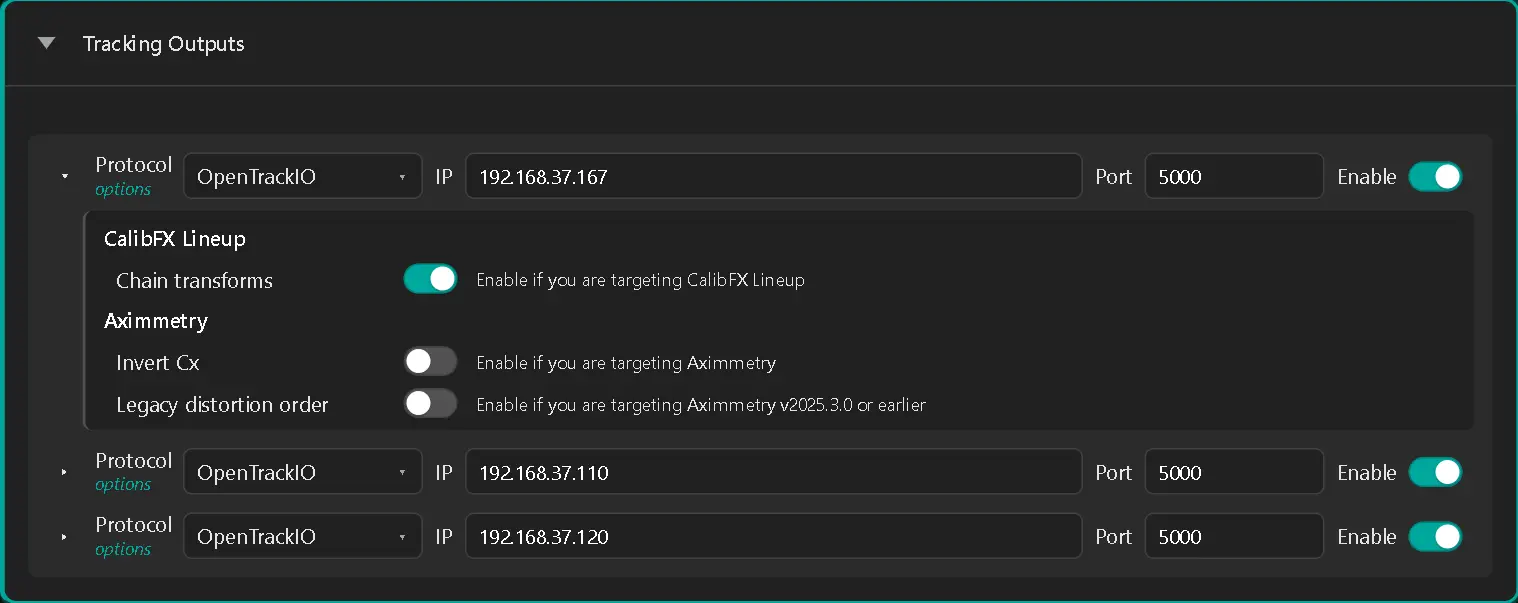
On an OpenTrackIO11 output, tick Chain transforms: Lineup then receives each node of the rig (Output → OpenTrackIO options).