Process
1. Mapping
One must first convert the many images into processed data usable by the solver. This is the Mapping step.
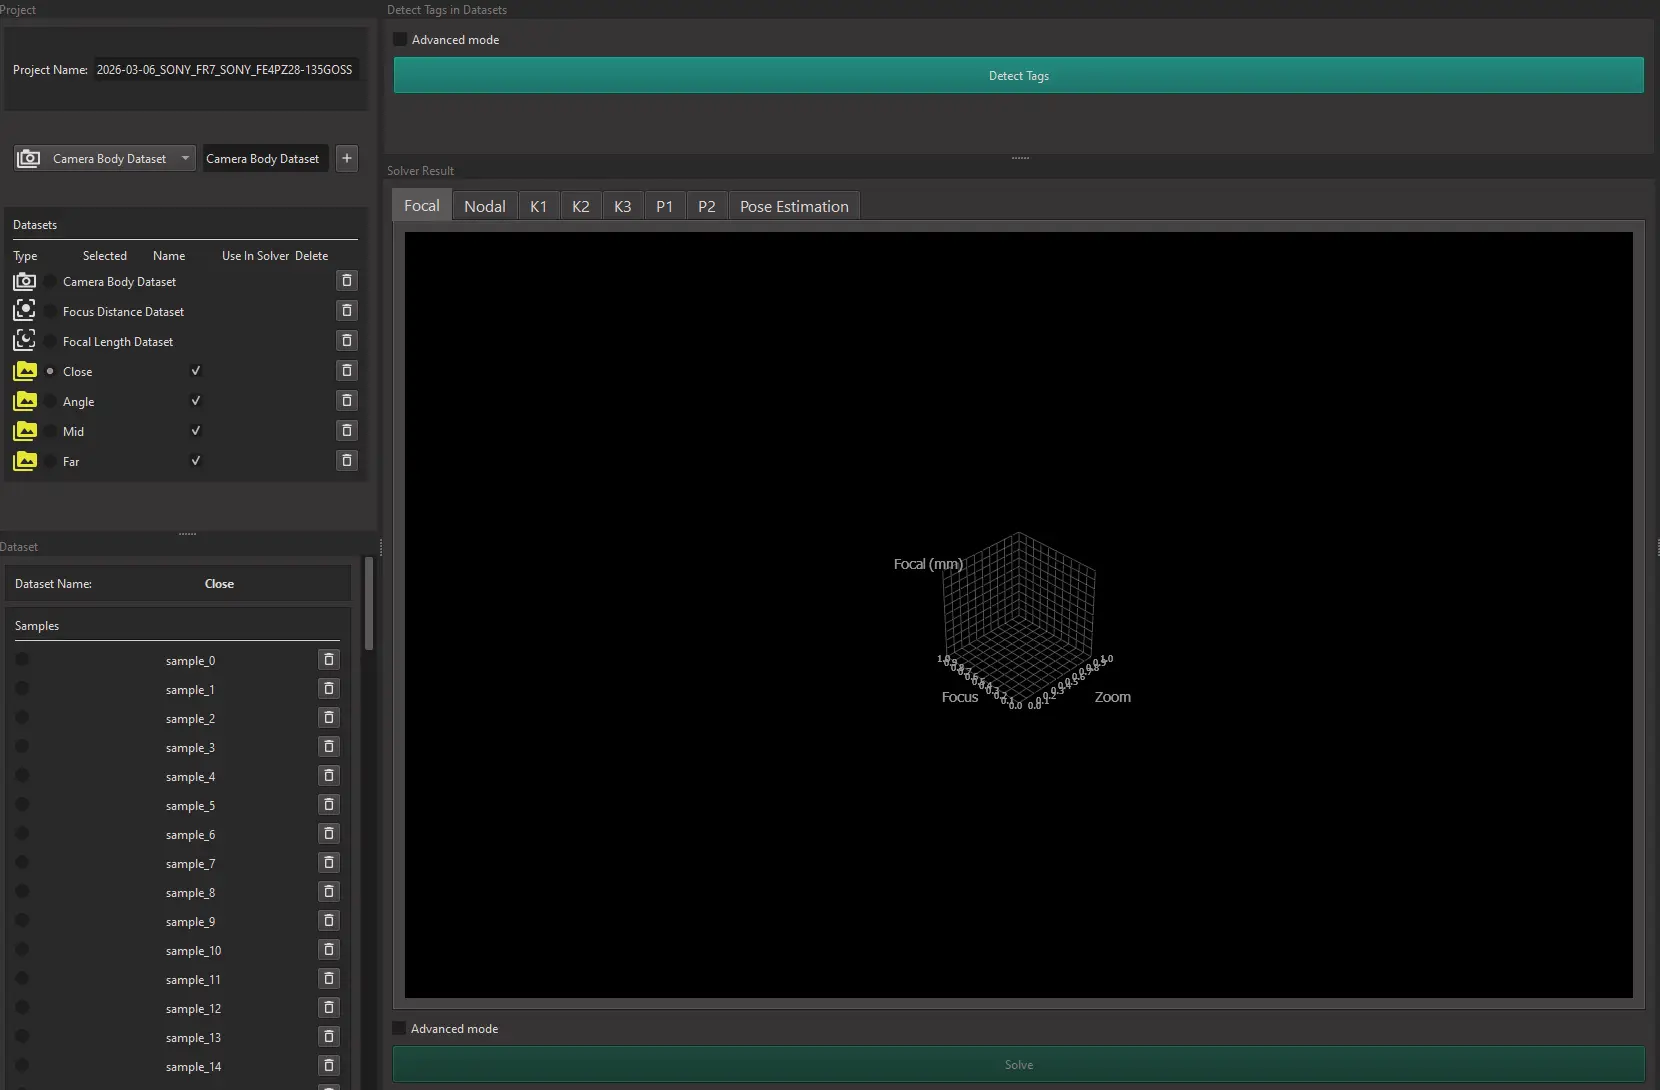
Just click on the "Detect Tags" button and the software will automatically detect which board you used for each dataset and convert your images.
If there's an issue detecting the board you used, you will be prompted to use the Advanced mode and select the board yourself.
For each dataset in your project, on the left, select it and go to the "Detect Tags in Datasets" dock:

Click on the "..." button on the right. A browser will appear:
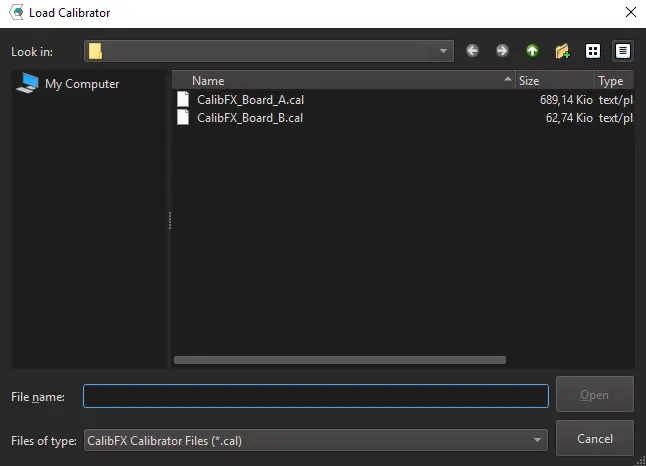
Select the side of the board used in this particular dataset (board A means small tags, board B big tags)

Press the button and wait for the dataset to finish converting.
Do this for all the Picture Datasets that were unfit for the automatic detection.
Note
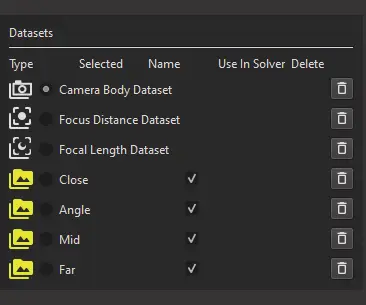
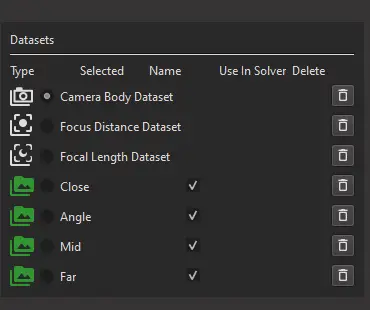
The icon of a dataset turns green once it is mapped.
2. Solving
Once all datasets are mapped, the "Solve" button is unlocked. Press it and wait (for dozens of minutes, go grab a coffee).
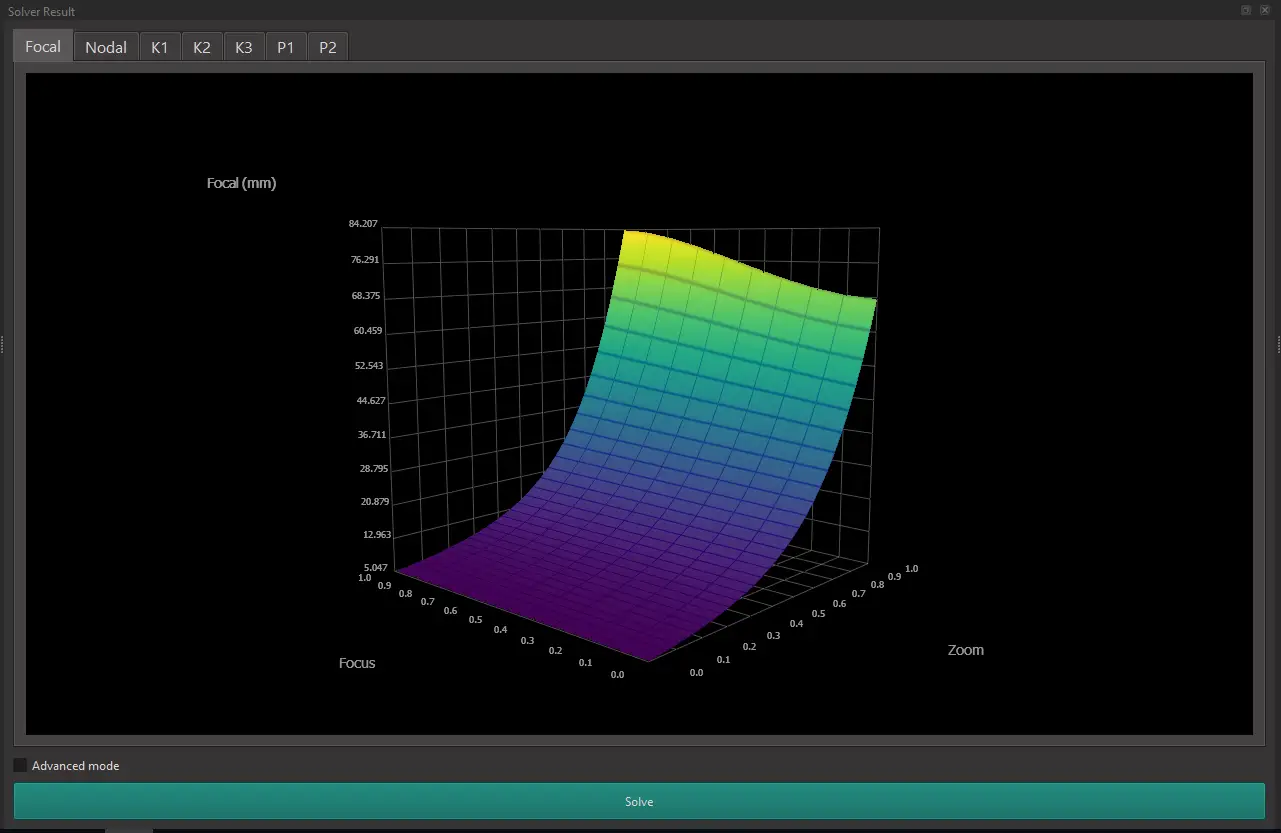
When the solver is finished, the curves for Focal Length, Entrance Pupil Distance and Distortion are displayed.
You can proceed to the next step of the calibration by clicking on the "Export" Button at the top.