Export for Zero Density
4 different methods are presented to import the lens file depending on the ZD version and workflow used.
Reality 5.7+ - Lens V2
Choose Lens V2 export in CalibFX Lens:

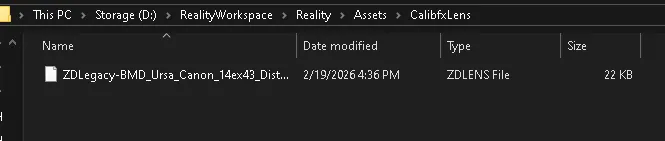
Go to your RealityWorkspace in Windows Explorer. Navigate to the Assets folder:

Put the exported lens file in this directory:

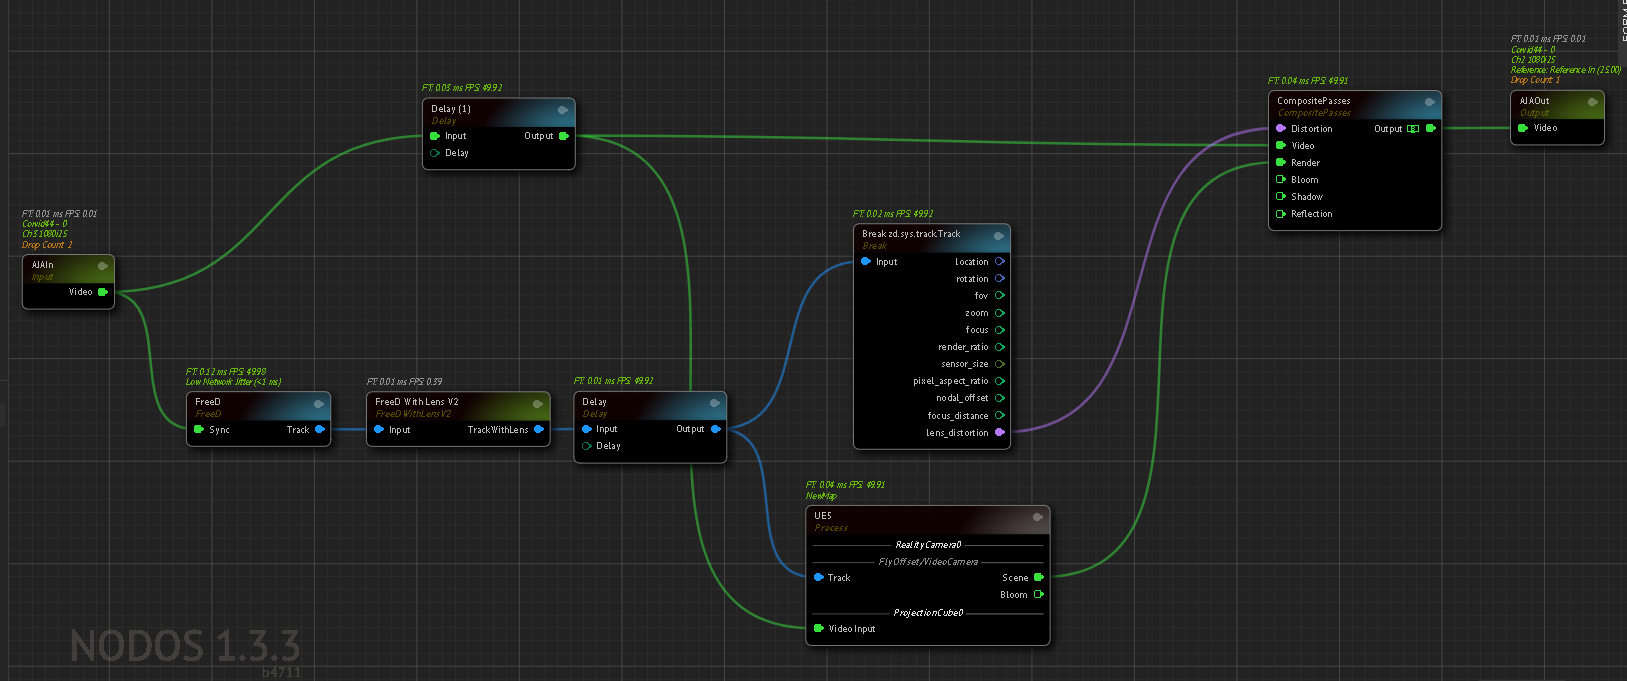
In the ZD nodegraph, add a FreeD With Lens V2 node:
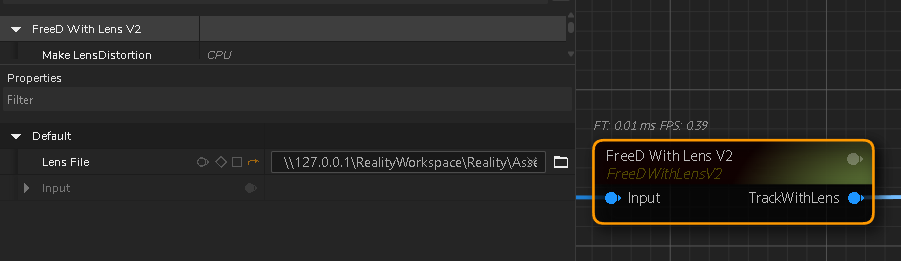
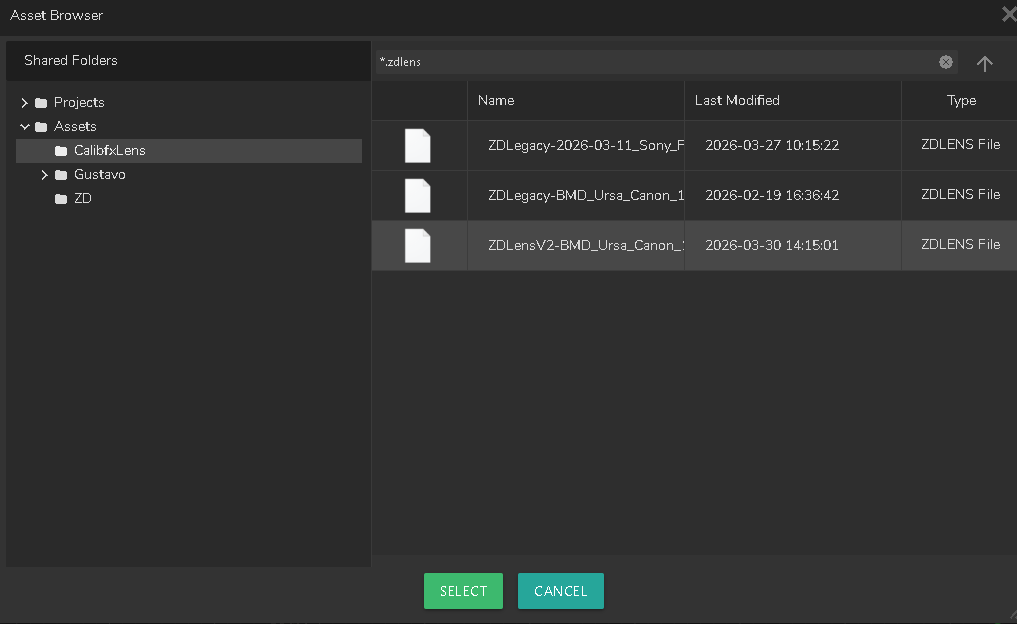
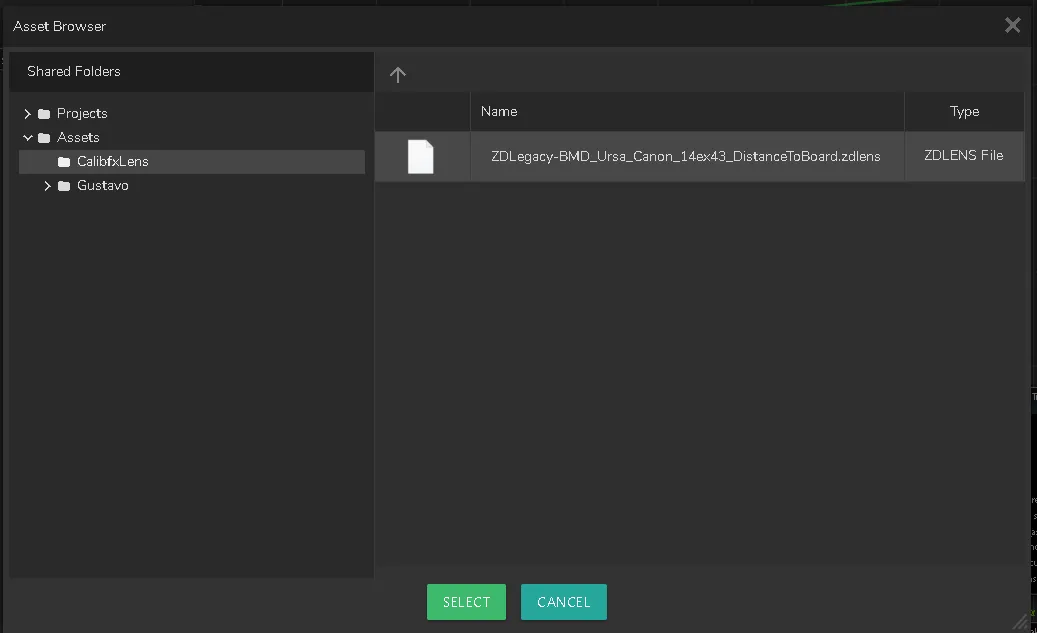
on the LensCalibration line, press the button with the folder icon. Select the lens file from RealityWorkspace:
Don't Forget to create the ZD Camera and the Projection Cube in the UE5 node!
Traxis Hub
Choose Lens V2 export in CalibFX Lens:

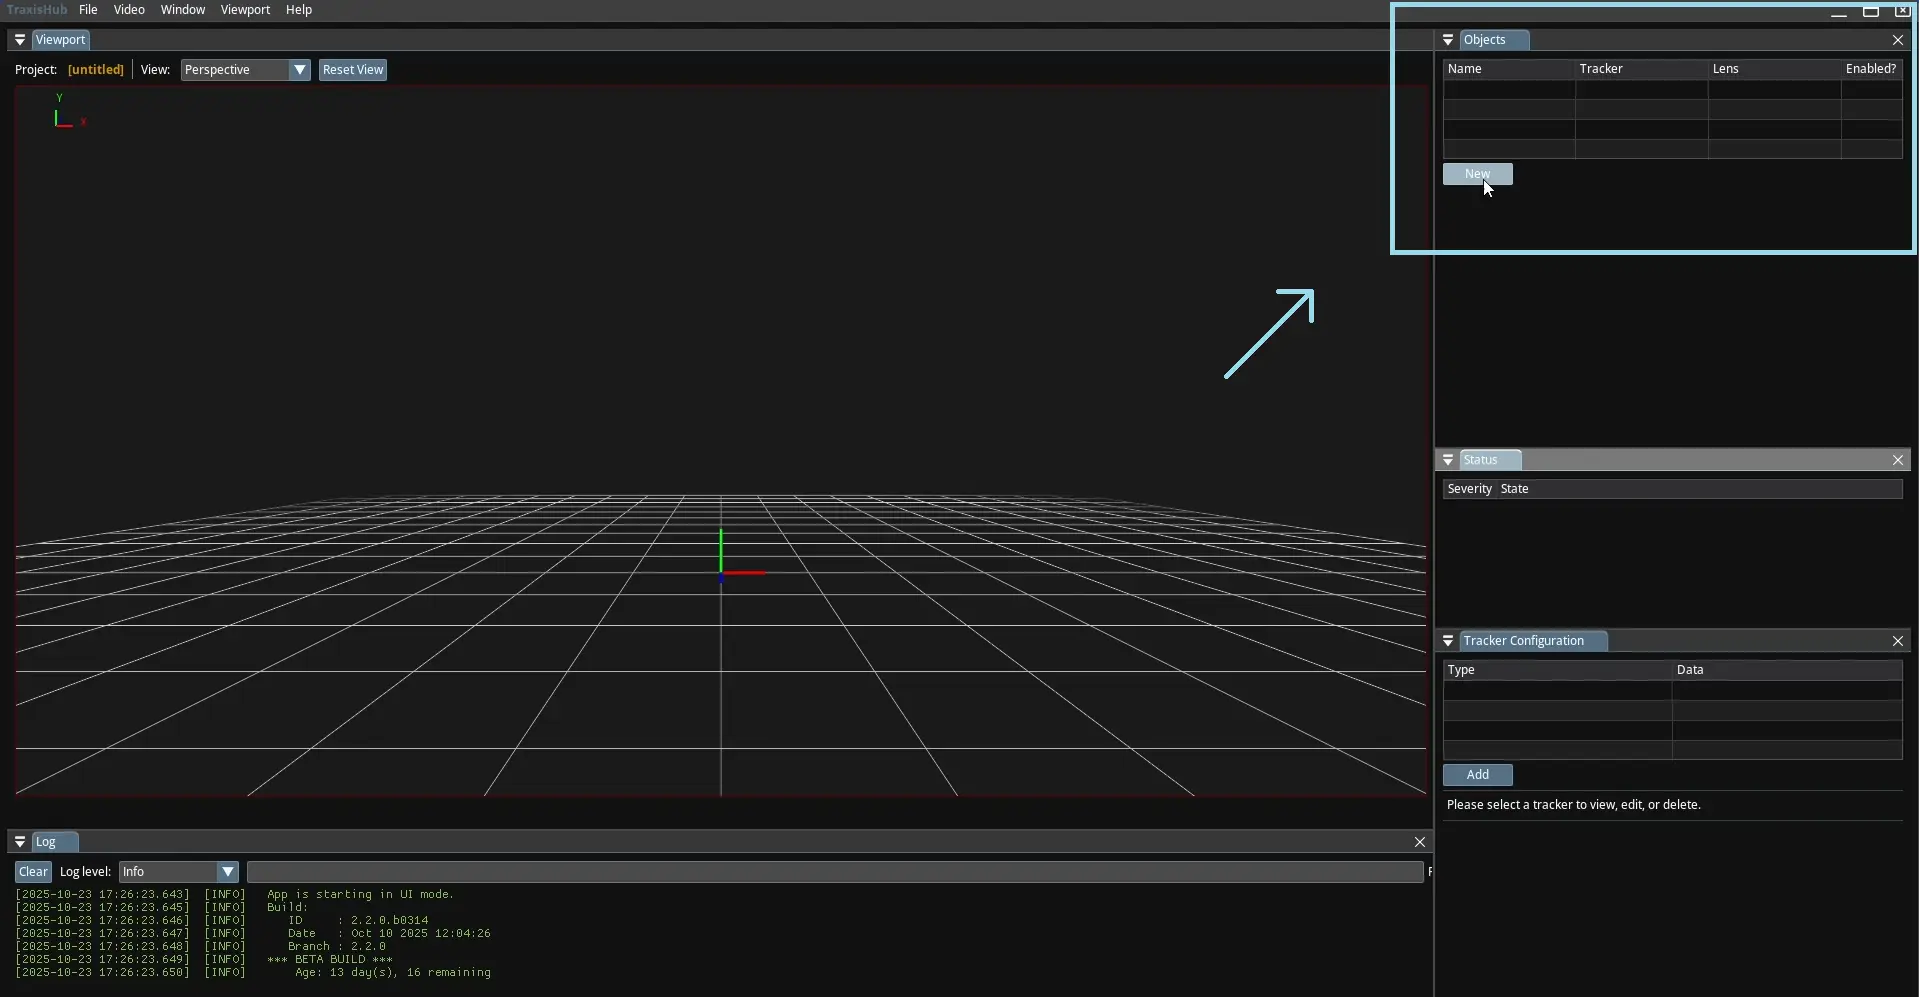
Open Zero Density TraxisHub. In the Objects panel, click on the "New" button to create a new tracked object:
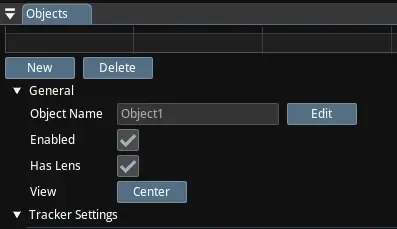
Unfold the General settings and check Has Lens:
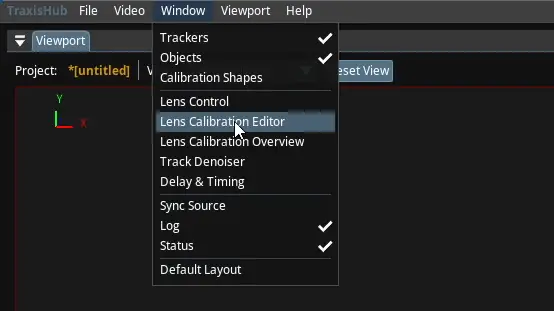
In the top left corner, select Window -> Lens Calibration Editor:
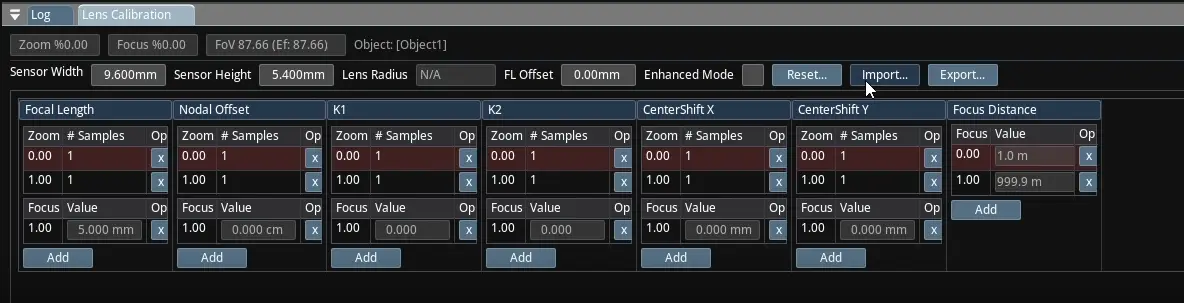
In the Lens Calibration panel that appeared at the bottom of the screen, click on "Import..." and select your lens file:
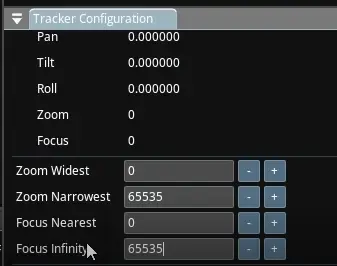
In the "Tracker Configuration" panel, add a new FreeD-UDP tracker:
![]()
In the "Zoom Narrowest" and "Focus Infinity" settings, set the maximum encoders values that you had in CalibFX-Lens:
You may need to set the coordinate system as follows to get a correct result with FreeD:
![]()
Reality 5 Legacy
Choose Legacy (<5.7) export in CalibFX Lens:

Go to your RealityWorkspace in Windows Explorer. Navigate to the Assets folder:

Put the exported lens file in this directory:
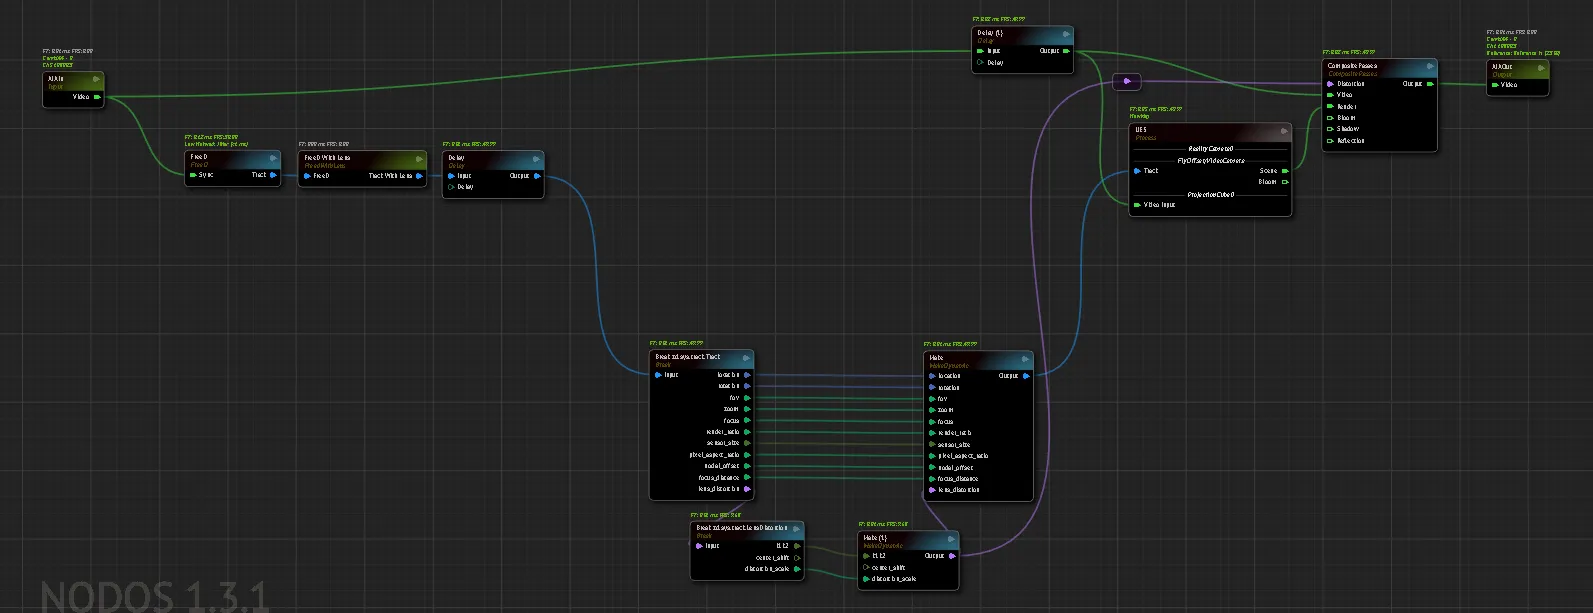
In the ZD nodegraph, add a FreeD With Lens node:

on the LensCalibration line, press the button with the folder icon. Select the lens file from RealityWorkspace:
Centershift is not handled properly with only this however, as centershift is not read from the file.
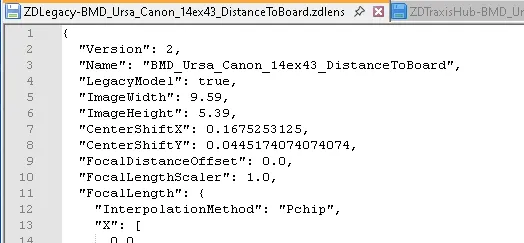
You can get the values by opening the lens file with a text editor, looking for the keys "CenterShiftX" and "CenterShiftY":
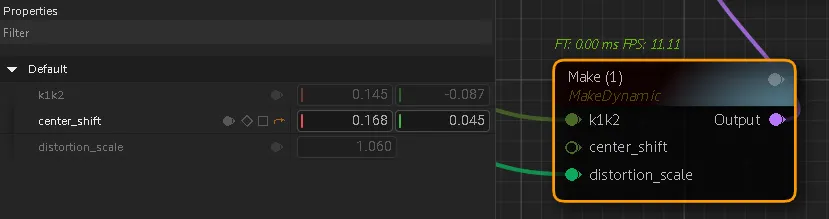
Create such a structure with Break and Make nodes to inject a custom centershift in the tracking pipeline:

Paste the values from the lens file in the Make Distortion node:
Reality 4 (Deprecated)
Warning
This format can't be exported from CalibFX Lens currently but was supported in EZprofile. Contact us if you need this output for CalibFX Lens.
The generated file is a text file containing rows to copy-paste in a lens profile created inside the Reality Editor.
- Open the generated text file in a text editor
- Open a project using Reality Editor 3.
- Option a: you can create a lens profile in the Reality installation folder. The lens profile will be available for all projects using this version, but needs to be copied when using a new version.
- In the content browser, enable
show engine contentandshow plugin content. Then open Engine Content / RealityEngine Content / Lenses.
- In the content browser, enable
- Option b: you can create a lens profile in the folder of the project. The lens profile is not tied to the version (as long as it is compatible), however it must be added to all projects.
- Open your content browser and create a folder or go to a suitable location in your project
-
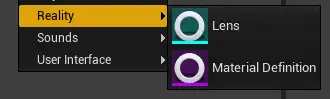
Create a new file with right click > Reality > Lens. Enter then name of your Lens. Open the file.
-
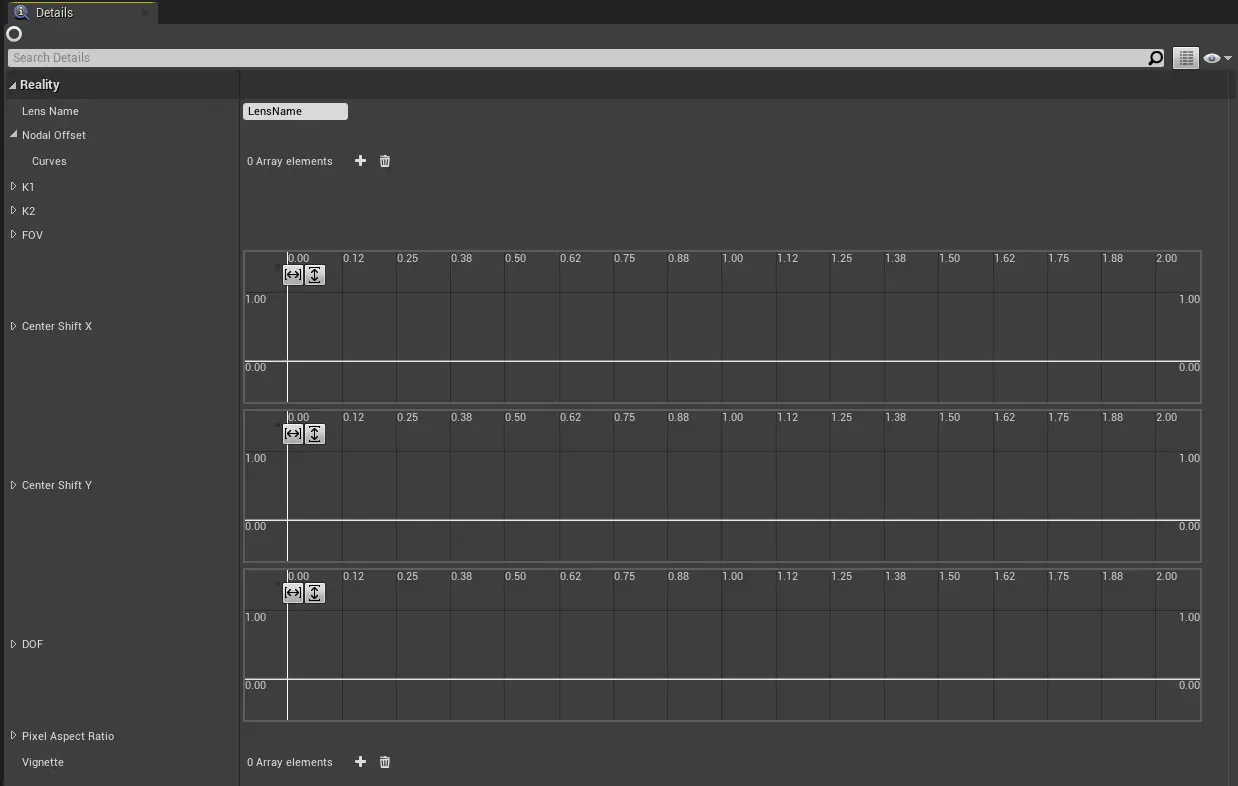
In the
Lens Namefield, enter the name of the lens. This will be the text displayed in the Reality interface when selecting a lens profile. - For the Nodal Offset, in the text file, copy the line below
NodalOffset -
In the lens profile, right click on Nodal Offset and Paste (right click exactly on the name, otherwise it won't work)
This will create the curves for this parameter.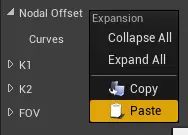
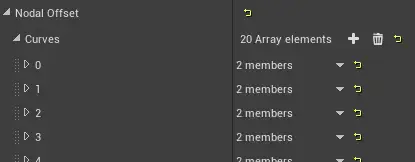
-
Repeat the steps 6 and 7 for the other parameters (K1, K2, FOV, DOF)
- Save
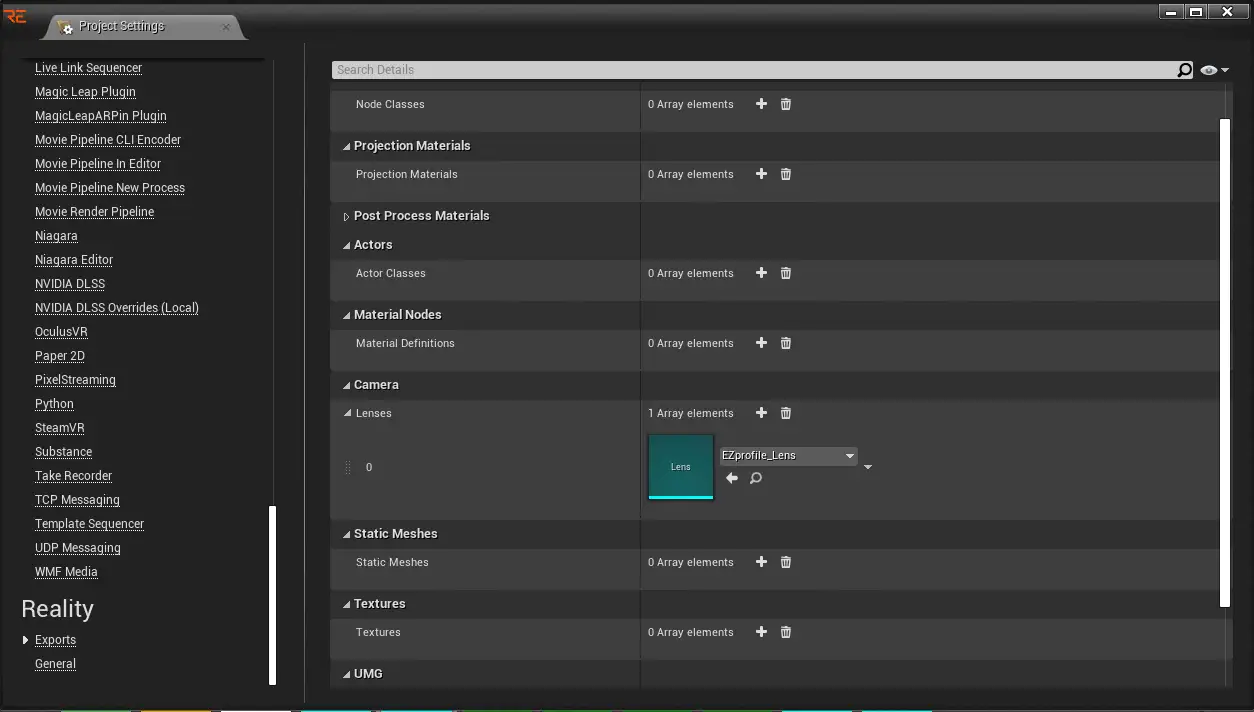
- If option b, it is mandatory to update the project settings so the engine knows about the lens profile when running.
- Open the
Project Settings. - Go to Reality > Exports > Camera > Lenses
- Add a new element
- Select the lens file you have created
- Open the