Configuring Unreal for CalibFX-Lineup
1. Camera Hierarchy in Unreal Engine
To be able to apply both the Studio and Sensor offsets in Unreal, we need to create a specific hierarchy of actors over the camera to decouple pose and lens information. Create 3 Actors:
- StudioOffset
- Tracking
- SensorOffset
Parented to each other in this order. And then under SensorOffset add the CineCameraActor:
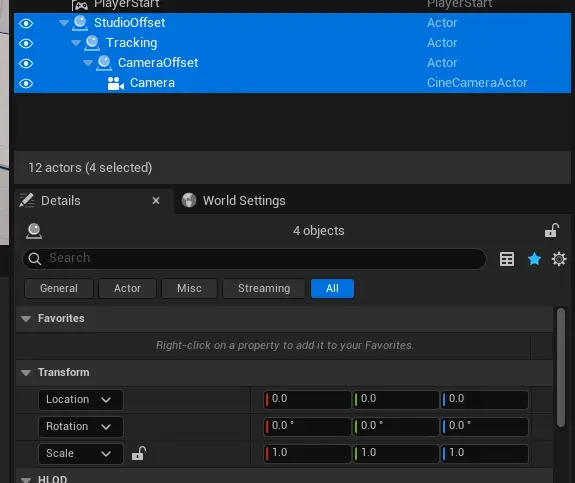
Make sure every one of these has a Location and Rotation of 0, as well as a scale of 1.
In the Tracking actor, add a LivelinkComponentController and link it to the tracking Subject Representation:
![]()
For this actor, set Camera Role to None. This means only the pose from the tracking will be applied to this actor.
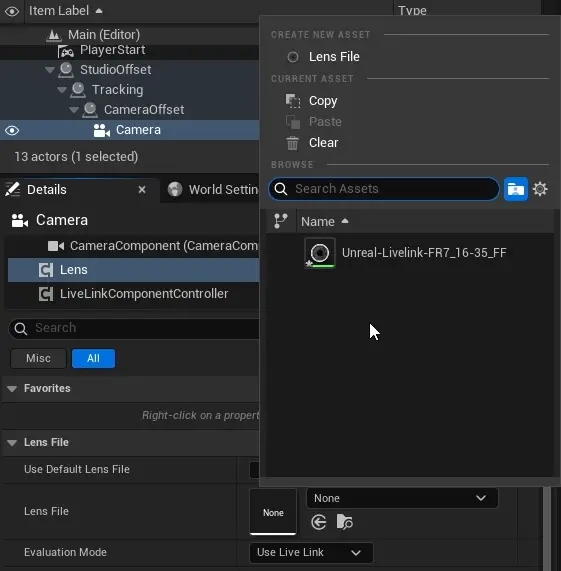
In the Camera actor, add a Lens Component, as well as a LivelinkComponentController linked to the tracking Subject Representation:

For this actor, set Transform Role to None. This means only the lens data from the tracking will be applied to this actor, no spatial transform.
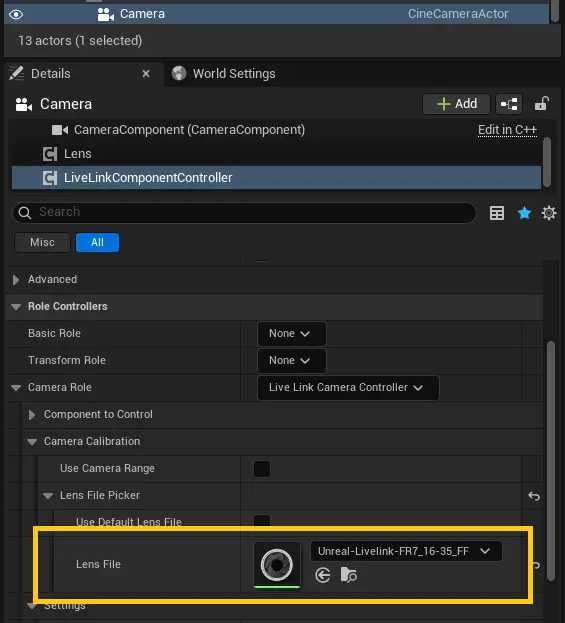
Then, add the lens file in both the Lens component, as well as under the Camera Role:
2. Quick Copy-Pasting
In CalibFX-Lineup, open the settings and set the clipboard output target to Unreal:

On the right side of each offset transform, use the Copy to clipboard button to copy the transform:
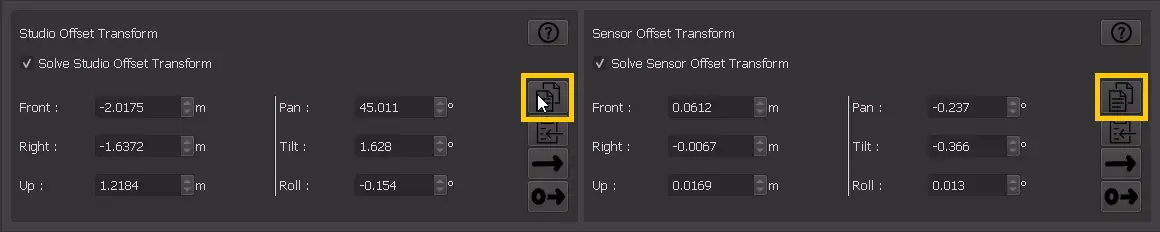
To paste in Unreal, click at the beginning of the Front: field and press Ctrl+V:
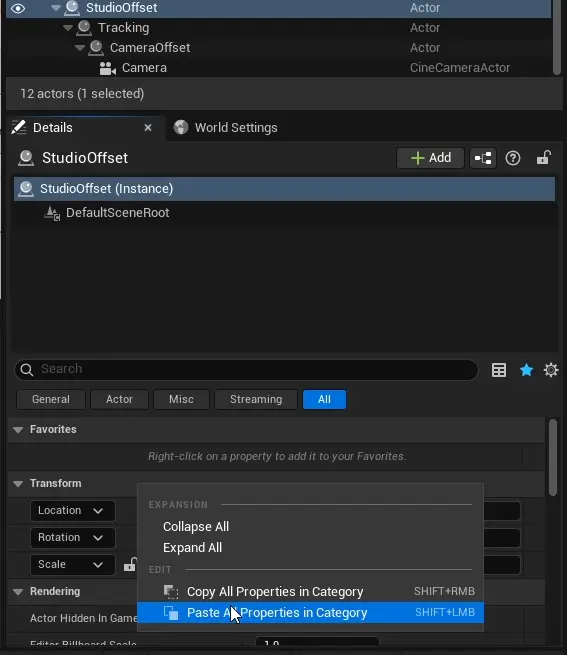
Unreal will fill both location and rotation:

Repeat the operation for each transform.
3. Nodal Offset Fix
Using this advanced hierarchy causes issues with how Unreal Engine handles Nodal Offset, since it is not applied as a camera role parameter, but as a modifier on the tracking role.
Download the following uasset and copy it into the project's content folder: ApplyNodalFocusCS.uasset (Unreal 5.6)
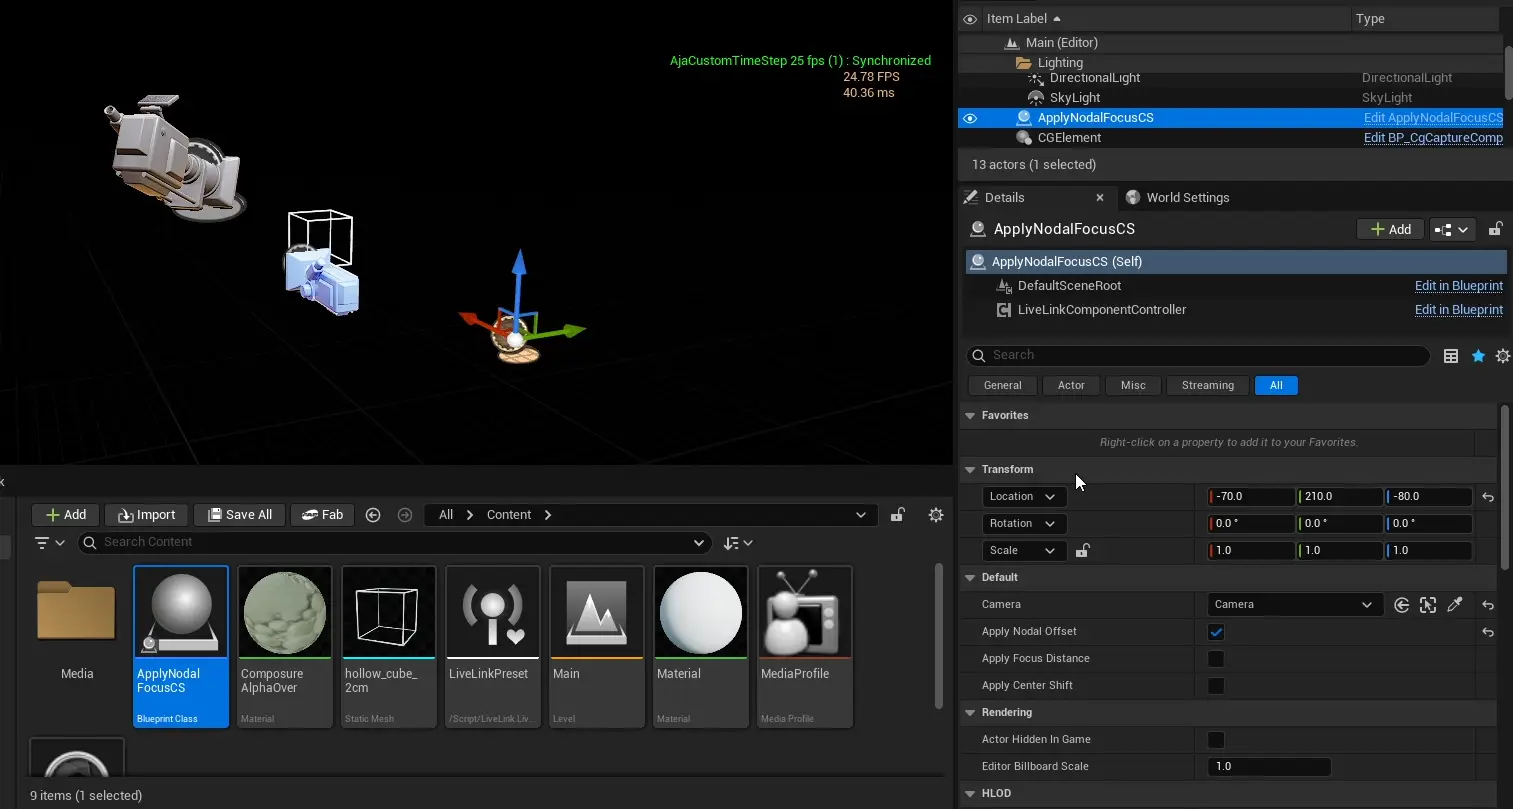
Drag and drop it into the scene. In its details tab, point to the Camera actor, and enable "Apply Nodal Offset".